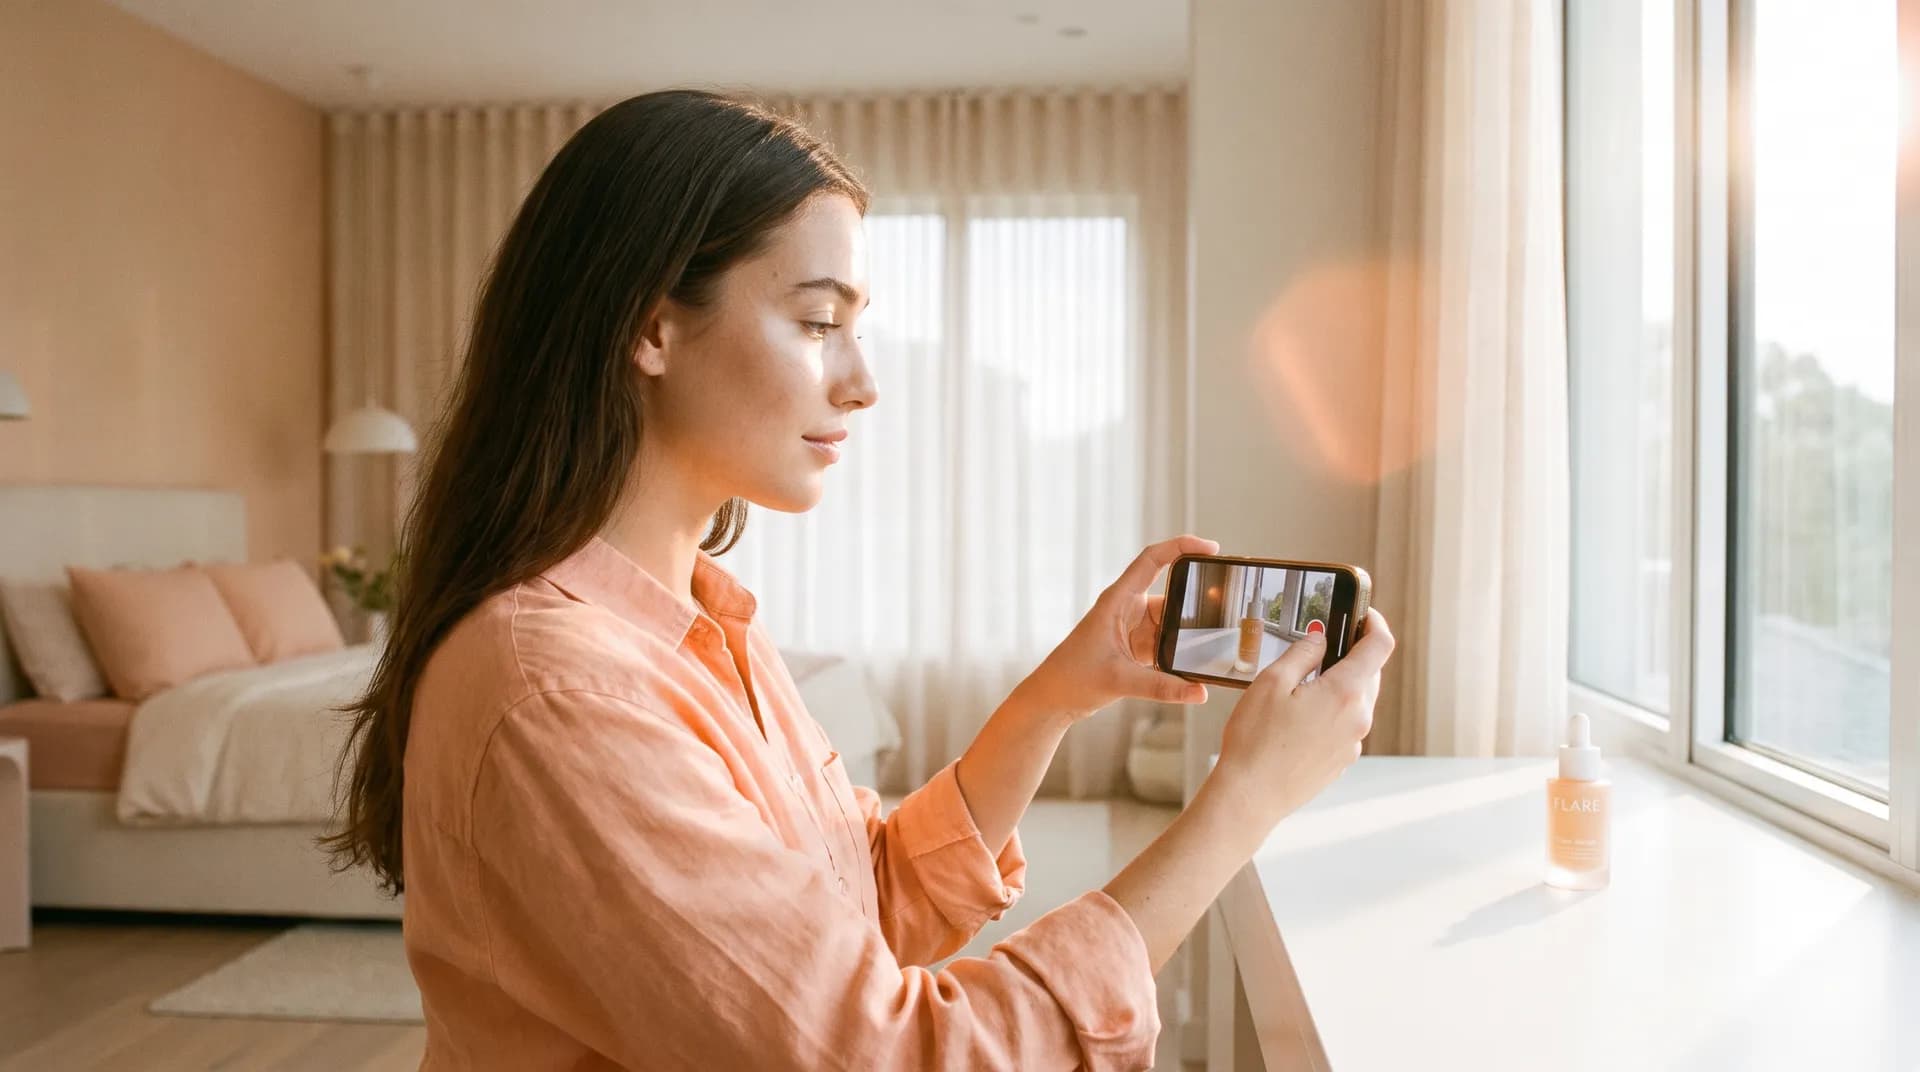
How to film UGC content with just your phone
No ring light, no gimbal, no excuses. Learn the exact phone settings, grip, framing, and environment hacks that make UGC look polished on zero budget.

I once sent a brand my very first UGC package — filmed on an iPhone 11, no tripod, bathroom vanity light, zero accessories. They ran it as a paid ad. It outperformed the studio footage they'd bought the same week.
That's not a humble-brag. That's the point. Knowing how to film UGC content with your phone well enough to deliver ad-ready footage doesn't require a gear list. It requires knowing which handful of settings and habits actually move the needle — and ignoring everything else.
This post covers exactly that.
The phone settings that actually matter for UGC filming
Before you hit record, spend two minutes in your camera settings. This is the part most creators skip, and it's why their footage looks soft, choppy, or unusably compressed.
Resolution: shoot at 1080p, not 4K. I know that sounds backwards. But 4K files are massive, they eat your storage mid-shoot, and most platforms downscale the footage anyway. 1080p at a high bitrate gives you clean, crisp footage that's easy to edit and fast to export. If your brand explicitly asks for 4K, deliver it — otherwise 1080p is the smart default.
Frame rate: 24fps for talking-head content, 60fps for anything with movement. 24fps gives your footage that slightly cinematic feel that makes it look intentional rather than amateur. Switch to 60fps when you're filming product demos with hand movement, pouring shots, or anything where motion blur would ruin the clip. You can also film at 60fps and drop it to 24fps in editing for a subtle slow-motion effect on b-roll — a trick that makes footage look way more considered than it is.
Turn off digital zoom entirely. Walk closer to your subject instead. Digital zoom is just cropping the image and blowing it up — it destroys quality every single time.
Enable your phone's native stabilization, but don't rely on it. Both iPhone (Cinematic Stabilization) and Android (Video Stabilizer) help, but they introduce a slight crop and can create a wobbly "floaty" look if you move too fast. They're a backup, not a crutch.
One more: lock your exposure and focus before you hit record. On iPhone, tap your subject and hold until the AE/AF lock appears. On Android, look for the lock icon after tapping. Without doing this, your camera will auto-adjust mid-shot whenever the lighting shifts, and you'll end up with footage that pulses in and out of focus. That's an instant rejection from any brand reviewer.
For a deeper look at settings across different shooting scenarios, the how to film UGC content that converts (full guide) is worth bookmarking — it covers everything from hook structure to delivery style in one place.
How to hold your phone so your footage doesn't look shaky
No gimbal needed. Seriously.
The two-hand grip is your baseline: both hands on the phone, elbows tucked into your ribcage, feet shoulder-width apart. Your body becomes the stabilizer. Add a slow exhale before you press record and hold it for the first few seconds of the clip. You'd be surprised how much steadier that makes things.
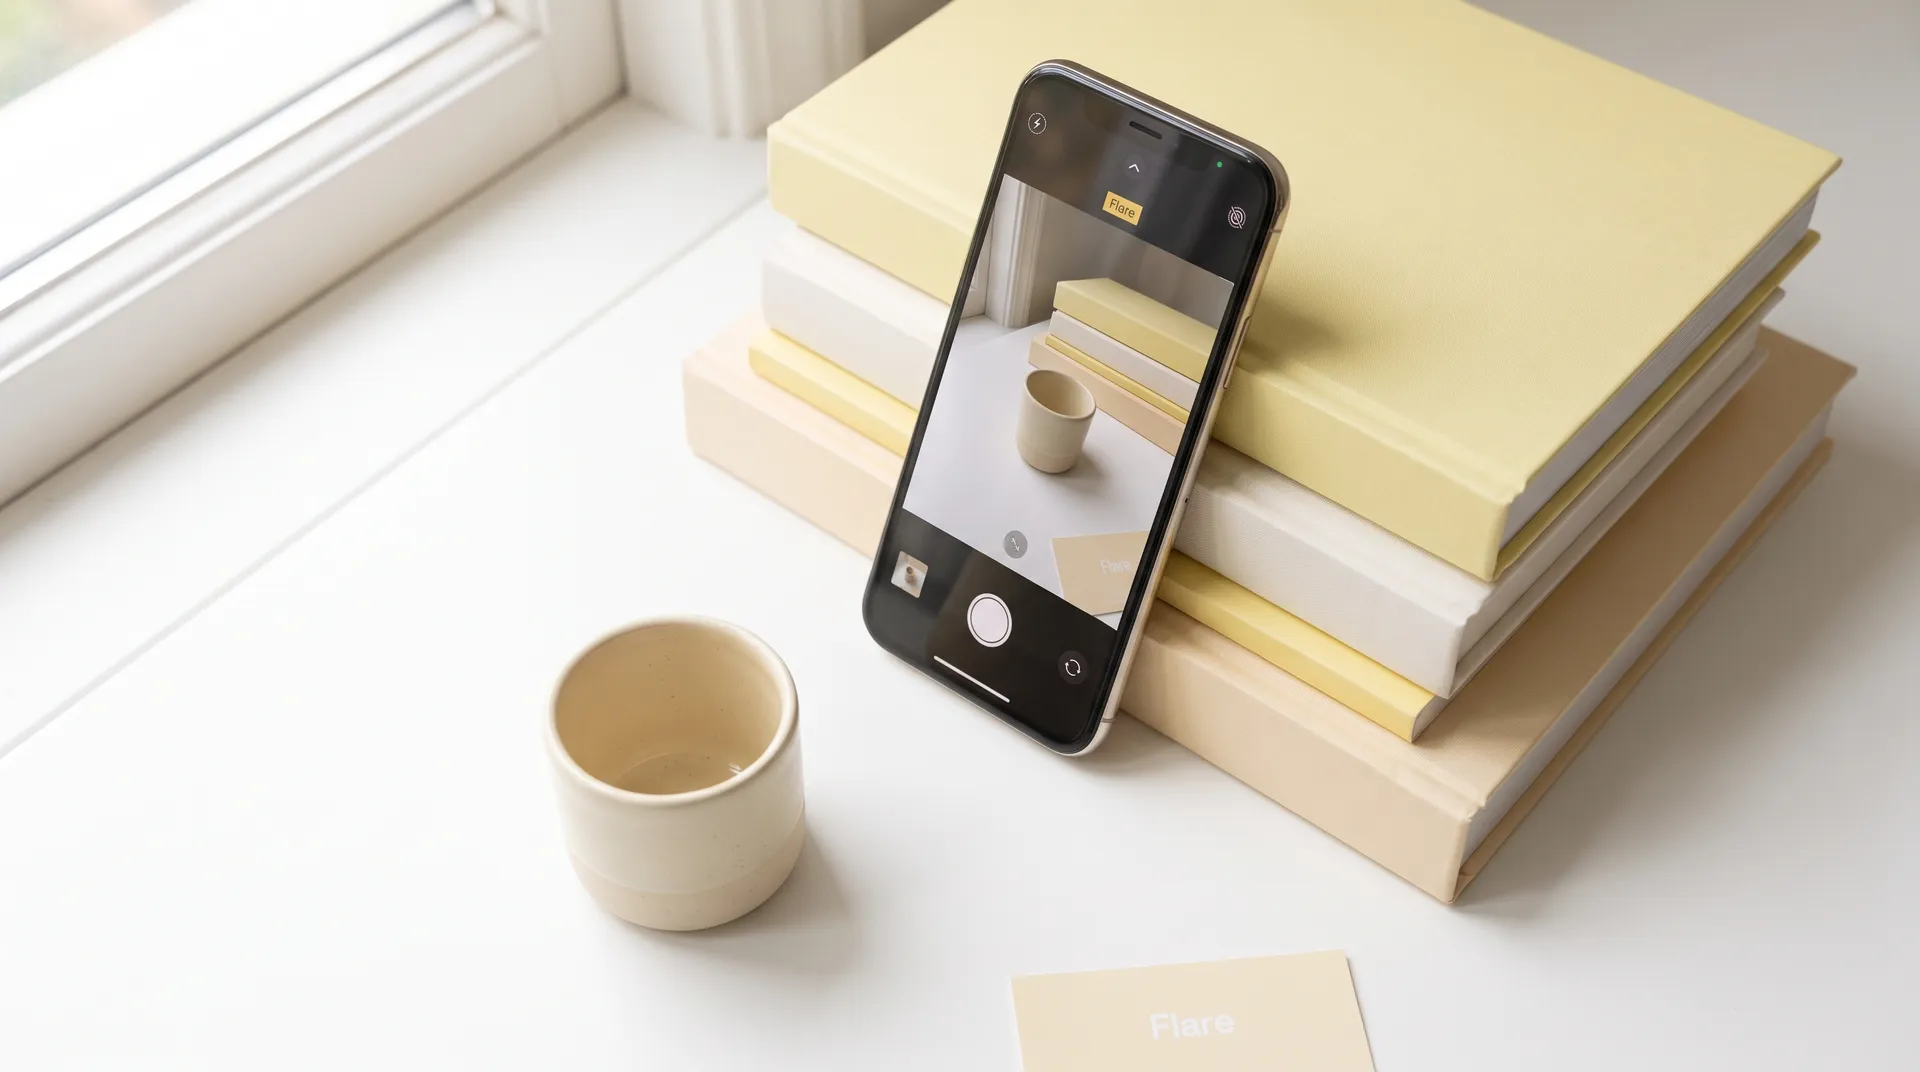
For static shots — product flats, talking heads where you're not moving — prop the phone instead of holding it. A stack of books works. A mug. The edge of a shelf. Whatever gets the phone to the right height and angle without wobble. I've filmed campaigns on a $0 "tripod" made of three hardcover books and a rubber band. Brands didn't notice.
If you're filming yourself, flip the phone to selfie mode and prop it at eye level or slightly above. Slightly above is almost always more flattering and more natural-looking. Below eye level is the one angle that consistently screams "I didn't think about this."
For walking or movement shots: plant one foot, take the shot, stop. Don't try to walk and film smoothly without a gimbal — it almost never works. Instead, cut between still moments. That's what editing is for.
Framing: the rules that make cheap footage look expensive
The rule of thirds is real. Turn on your camera's grid overlay (it's in settings on both iPhone and Android) and use it. Place your face or the product at one of the four intersection points, not dead center. Dead center looks like a passport photo. Off-center looks deliberate.
Headroom matters more than people think. If you're doing a talking head — and you should read the full breakdown in talking head UGC: on-camera delivery tips that build trust — leave a small gap between the top of your head and the top of the frame. Just a sliver. Too much headroom makes you look small. No headroom makes the frame feel cramped.
For product shots, get closer than feels comfortable. Most beginner UGC footage has the product too small in the frame, surrounded by too much empty space. Brands want to see their product clearly. Fill the frame with it.
Vertical vs. horizontal framing: film vertical (9:16) if the deliverable is TikTok, Reels, or Shorts. Film horizontal (16:9) if it's for Meta feed ads or YouTube. When in doubt, ask the brand before you shoot — not after. Re-framing a horizontal video for vertical always loses quality and often cuts out important parts of the frame.
And backgrounds: keep them simple. A plain wall, a tidy countertop, a single-color bedsheet taped up (yes, creators do this). The product or your face should be the only thing competing for attention. Clutter in the background is one of the fastest ways to make footage look amateurish — and brands notice it even when they can't articulate why. Your UGC video hooks live or die in the first two seconds, and a messy background immediately signals "low production value" before you've said a word.
Environment setup: turn any room into a shooting location
Natural light is your best tool, full stop. Position yourself or your product facing a window — not beside it, facing it. The window acts as a giant soft-box. Overcast days are actually ideal because clouds diffuse the light and eliminate harsh shadows. Direct sunlight through a window creates ugly shadows and blows out highlights.
If natural light isn't available or consistent, a basic LED panel ($25–$40 on Amazon) pointed at a white wall for bounce light does a solid job. I go deeper on this in UGC lighting on a budget if you want to compare options properly. But the takeaway for phone-only creators: move your shoot to wherever the best natural light is in your space. That might be a different room at a different time of day. Figure out where that window is and build your shooting schedule around it.
Noise is the invisible killer. Your phone's built-in mic picks up everything — AC units, traffic, roommates, your own clothes rustling. Record a silent 10-second test clip before every shoot and listen back with headphones. If you hear distracting background noise, fix it before you shoot 20 clips you can't use. Close windows, turn off fans, move away from appliances. Check out best audio setup for UGC video creators for more on getting clean audio without spending money on a mic.
For your shooting surface or background: a $10 foam poster board from any craft store is one of the most underrated tools in UGC. White, black, or a pastel color — they give you a clean, professional-looking background that photographs well under any lighting condition. Roll it slightly at the base to eliminate the line where wall meets table for product shots. That single trick makes flat-lay footage look significantly cleaner.
Quick pre-shoot checklist (phone-only edition): Grid overlay ON → Exposure and focus locked → Stabilization ON → Frame rate set → Notifications silenced → Storage checked → Test audio clip recorded. Do this every time and you'll cut your re-shoots in half.
Putting it together: a simple phone-only filming workflow
Stop treating each shot as a separate task. Think in scenes.
Start with your talking head or hook clip. Get that nailed first while your energy and delivery are fresh. Then move to your b-roll — product close-ups, texture shots, lifestyle context. Batch them all in the same lighting setup so everything looks cohesive. If you're doing a product demo, film it at least three times from the same angle so you have options in the edit.
One habit that immediately separates competent UGC creators from beginners: film more than you think you need. An extra 30 seconds of b-roll footage takes 90 seconds to shoot and can save an entire edit. Brands frequently ask for variations — a different hook, a longer cut, a version without your face. Having footage depth makes delivering those variations painless instead of impossible.
If you want to see how this kind of footage comes together into a complete ad-ready deliverable, check out how to film a UGC product demo that actually converts — it walks through a full demo shoot from the angle choices to the final clip selection.
The biggest unlock for most creators isn't better gear. It's a repeatable process that removes every decision they'd otherwise make under pressure mid-shoot. Set your settings once, build your environment once, run through the checklist — then just focus on performance and delivery.
That's where the real quality lives. Everything else is just removing obstacles to get there.
Frequently Asked Questions
What phone settings should I use for UGC videos?
Do I need a tripod to film UGC content with my phone?
Should I film UGC in vertical or horizontal?
What's the best lighting for filming UGC on a phone?
How do I get stable footage without a gimbal?
What resolution should UGC videos be filmed at?
Related reading
- How to film UGC content that converts (full guide)
- UGC video hooks: stop the scroll in 3 seconds
- Talking head UGC: on-camera delivery tips that build trust
- UGC lighting on a budget: natural light vs. ring light vs. LED panel
- How to shoot b-roll for UGC videos that sell
- Best audio setup for UGC video creators (no pro mic)
- How to film a UGC product demo that actually converts