How to film UGC content that converts (full guide)
Learn how to film UGC content that brands actually buy — lighting, hooks, angles, audio, and editing tips from a creator economy founder.

A brand paid me $450 to watch a creator's UGC video last year. They didn't want to use it — they wanted me to explain why it wasn't converting. The creator had a good hook, decent script, even a solid product demo. But the video looked like it was filmed inside a cave. Shaky, blue-tinted, muffled audio, subject too far from the camera. $450 worth of "please tell us what went wrong."
That's when it clicked for me. Most new creators think learning how to film UGC content is about scripts and trending sounds. It's not. It's about making the viewer's brain feel safe enough to keep watching — and comfortable enough to trust the product being shown.
This guide covers everything: gear, lighting, framing, hooks, audio, and the editing patterns that separate $75 UGC videos from $300 ones.
The "how to film UGC content" mindset shift you need first
UGC isn't YouTube. It's not Instagram aesthetic content either.
UGC videos — the kind brands actually pay for and run as ads — need to look native to the feed while still being polished enough to not embarrass the brand. That's a narrow target to hit. Too slick and it looks like a TV commercial. Too raw and it looks like spam.
The goal is deliberate authenticity. Every shot choice, every lighting decision, every camera angle should feel natural while actually being intentional. Brands don't want accidental. They want controlled imperfection.
This distinction matters because it changes every decision you make on set.
What brands mean by "authentic": They don't mean bad lighting and a messy background. They mean no teleprompter eyes, real reactions, natural speech patterns, and a setting that matches how their customer actually lives. Polish the craft; keep the personality.
Gear: what you actually need (and what's a waste of money)
You don't need a Sony ZV-E10 to start. You don't need a ring light the size of a satellite dish. I've seen $400 UGC videos shot on an iPhone 12 and $50 videos shot on a Sony A7IV. Gear doesn't correlate with quality as much as creators think.
Here's what actually matters:
Your phone is probably fine. iPhone 13 and up, Samsung Galaxy S21 and up — both shoot fantastic 4K vertical video. If you're buying gear before you have your first paid campaign, you're doing it backwards. Get campaigns first. Upgrade gear with the revenue.
The one thing worth buying early: a mini tripod. Something like the Joby GorillaPod or a $20 Amazon flexible tripod. Shaky footage is the #1 reason UGC gets rejected before a brand even reviews the script. Stabilization is non-negotiable.
Lighting comes second. Natural window light beats a $15 ring light every single time. Position yourself facing a window (not beside it, not behind it — facing it). If you're filming at night or in a dark apartment, a $40–$60 LED panel like the Elgato Key Light Air will handle 95% of your use cases.
External mic, eventually. The built-in iPhone mic is surprisingly good — until you're in a room with an HVAC system, street noise, or echo. A $30 Rode VideoMicro or even a budget lavalier on Amazon makes a noticeable difference in perceived professionalism.
That's genuinely it. Four items. Phone, tripod, one light, one mic. Under $150 total if you're starting from scratch.
Vertical vs. horizontal framing
Almost all UGC runs as paid ads on TikTok, Instagram Reels, and Facebook. That means 9:16 vertical by default. Film vertical unless a brand brief specifically says otherwise (some YouTube pre-roll campaigns ask for 16:9 or 1:1).
Lock your phone's orientation before you start rolling. Nothing kills a deliverable faster than sending horizontal footage to a brand that needed vertical.
Lighting: the single biggest quality lever you have
This is the part most beginner creators skip, and it's why their footage looks amateur.
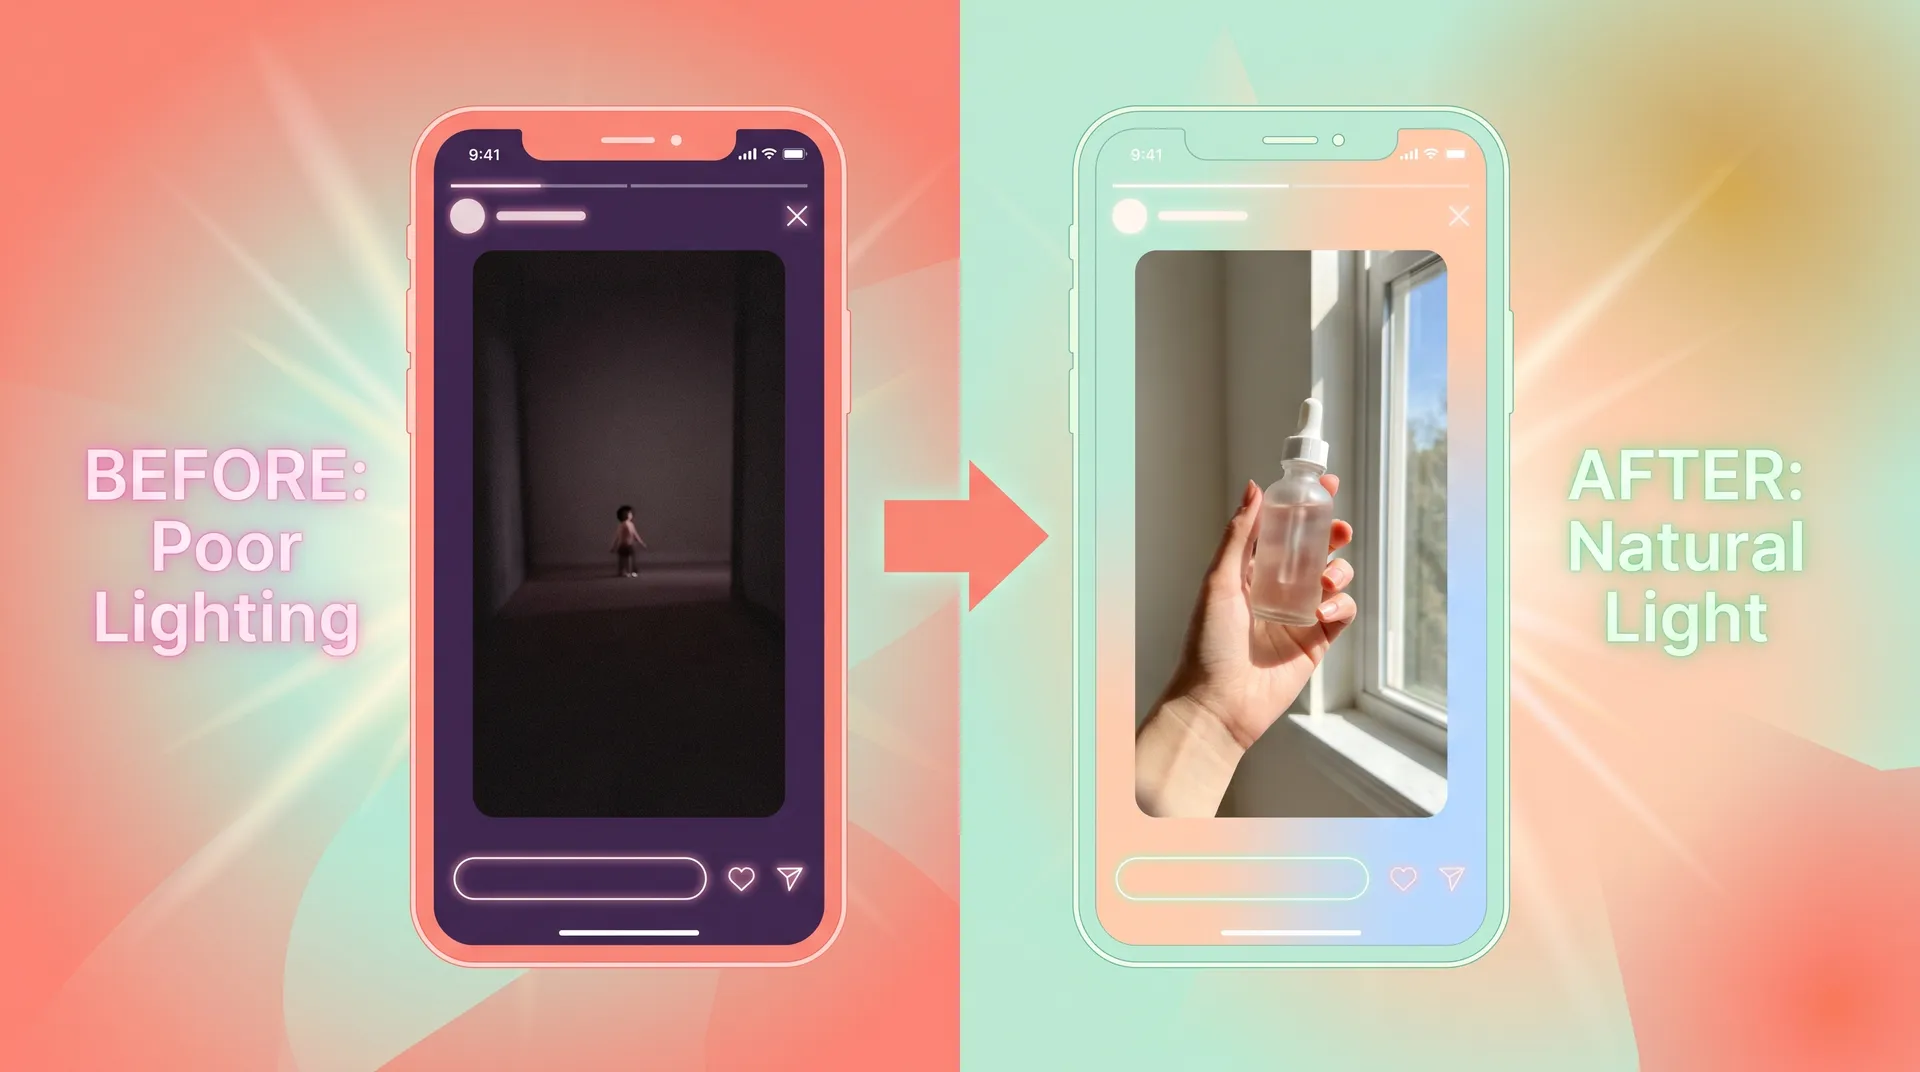
Bad lighting doesn't just make you look bad. It makes the product look bad. And no brand will run an ad where their skincare serum looks like a murky liquid in a dark room.
The window-light rule: Set up within 3–4 feet of a window. Film during daylight hours, ideally in the morning or midday when light is bright but not harsh. If the sun is casting hard shadows across your face, hang a white sheet or a piece of white foam board just outside the frame to diffuse it.
Three-point lighting for indoor setups: If you're going full indoor setup, place your key light (main light) at 45 degrees to your face, a fill light at lower intensity on the other side to soften shadows, and a ring or soft backlight to separate you from the background. This is the standard that makes UGC look polished without looking produced.
Color temperature matters more than brightness. Mixing warm and cool light sources in the same frame looks terrible and is hard to fix in post. Pick one temperature and stick to it. Daylight-balanced LEDs (5500–6500K) work best for UGC — they look clean and match natural light.
One thing I tell every creator I work with: before you read a single line of your script, film 5 seconds of yourself just sitting there. Watch it back. If you look washed out, too dark, or weirdly orange — fix that before you do anything else. The hook doesn't matter if no one's watching because the image looks wrong.
Hooks: the 0–3 second problem
Here's a stat that should change how you think about UGC: Meta's own research shows that 65% of people who watch the first 3 seconds of a video will watch at least 10 seconds. If you lose them before the 3-second mark, the rest of your video is irrelevant.
Your hook is everything.
We already have a full deep-dive on UGC hooks that stop the scroll and win campaigns — but here's the core framework for how it connects to filming technique specifically.
Strong hooks require strong visuals first. Before a single word is spoken, the viewer is deciding whether to keep watching based on what they see. A close-up of a product being used. A surprising visual contrast. Movement in the first frame. An unusual angle. These visual hooks buy you the second or two you need to deliver a verbal hook.
Three visual hook formats that consistently work:
- Product close-up reveal — Start with an extreme close-up of the product (label, texture, color), then pull back. Creates curiosity.
- Before/after split — Show the problem state first (under-eye bags, tangled phone cables, a messy pantry), then cut. Triggers pattern interruption.
- Reaction shot — Film your genuine first reaction to using something. Real facial expressions in the first frame are incredibly powerful.
What kills hooks: Starting with yourself talking directly to camera while standing 4 feet back. You're too small, the background competes for attention, and there's no immediate visual interest. Get close. Fill the frame.
The 3-second audit: Watch your hook with the sound off. Does something visually interesting happen in the first 3 seconds? If the answer is "not really," reshoot the opening before you do anything else.
Framing and angles that sell
The way you frame a shot communicates trust and relatability — or it doesn't.
Fill the frame. For talking-head UGC, your face and upper body should fill roughly 70-80% of the frame. You want to feel like you're talking to a friend, not presenting at a board meeting from across the room.
Rule of thirds. Divide your frame into a 3x3 grid (most phone cameras have this as a toggle). Your eyes should fall on the upper horizontal line. Product demos should place the product at an intersection point, not dead center. Dead center looks stiff and broadcast-y.
Angles for product demos:
- Eye-level: Best for trust-building, direct address to camera
- Slight above: Flattering for face-forward content, feels personal
- Close-up POV: Perfect for product texture, application demos, unboxing — puts the viewer in the experience
What to avoid: Dutch angles (tilted camera), looking down at your phone while holding it, and fisheye distortion from being too close to a wide-angle lens. These all read as amateur.
Background matters too. You don't need a perfect backdrop, but you need a clean one. A plain wall, a tidy shelf, a kitchen counter with minimal clutter. Backgrounds should support the product's world, not distract from it. If you're filming a coffee brand UGC, a cozy kitchen background makes sense. If you're filming a skincare brand, a bathroom or clean vanity works. Don't just film wherever you happen to be.
Audio: the element that sounds obvious but isn't
Viewers will tolerate slightly imperfect video. They won't tolerate bad audio for more than a few seconds.
Studies on video engagement consistently show that audio quality has a bigger impact on perceived professionalism than video quality. Bad sound makes everything look cheap.
Practical audio tips:
- Film in the smallest room you have (closets are genuinely great — the clothes absorb echo)
- Turn off air conditioning, fans, and anything with a motor before you roll
- Stay within 18–24 inches of your phone's microphone — distance kills clarity
- Do a 10-second audio test before every shoot and listen back with headphones, not your phone speaker
If you're using an external mic, check the cable isn't brushing against your clothing mid-take. That scratching sound is a common mistake and it's always caught in post — which means a reshoot.
Editing for conversion (not aesthetics)
This is where a lot of creators get it backwards. They edit for how the video looks instead of how it performs.
Wistia's video engagement research shows that for short-form content, every unnecessary second costs you viewers. Cut ruthlessly.
The UGC edit framework:
- Hook (0–3s): Visual interest + verbal or text hook
- Problem/relatability (3–8s): Establish who this is for and why it matters
- Solution/product (8–20s): Demo, testimonial, proof point
- CTA (final 3–5s): Simple, one action
That's it. Most paid UGC ads run 20–45 seconds. If your video is 90 seconds and you haven't been briefed for long-form, you're leaving money on the table — brands will ask for edits or reject it entirely.
Text overlays aren't optional. Facebook's own data shows that 85% of Facebook video is watched without sound. If your UGC relies entirely on spoken audio to deliver the message, you're losing most of your audience. Add captions, key claim call-outs, and product name text overlays. Every time.
Cut jump cuts between takes aggressively. Add 0.5–1 second of b-roll between cuts if needed. Match audio levels across clips. Make sure your final export is the correct spec for the platform (typically 1080x1920 for vertical, H.264, under 4GB).
The exports brands actually want: Always deliver original files plus a captioned version. Deliver in both .mp4 and check whether the brand needs square (1:1) versions too. Asking about specs before you deliver saves everyone time.
Building a repeatable filming system
The creators earning $3,000–$5,000/month from UGC aren't reinventing the wheel on every campaign. They have a system.
When you're just starting out, every shoot feels like starting from scratch. Once you've done 10–15 deliverables, you start noticing patterns: your best-performing angles, your go-to lighting setup, the hook formats that consistently get approved first-round.
Build a personal filming checklist. Before every shoot: charge your phone, check your lighting setup, do a 10-second audio test, confirm your orientation is locked to vertical, and read the brief one more time. Takes 3 minutes. Saves hours of reshoots.
Batch filming is another skill worth developing early. Instead of filming one video per session, block 2–3 hours and film 4–6 deliverables in one go. Change your shirt between takes so they look like separate days. Batching reduces the mental overhead of setup, and it means you can take on more campaigns without burning out.
If you're still building out your deliverables library, check out how to build a UGC portfolio that wins campaigns — the filming quality of your portfolio samples directly determines the caliber of brand you'll attract.
And once you've got the filming side locked in, the next step is getting in front of brands. How to land your first UGC campaign as a creator walks through that whole process.
If you're brand new to the space entirely, how to become a UGC creator covers the foundation before any of the filming craft matters.