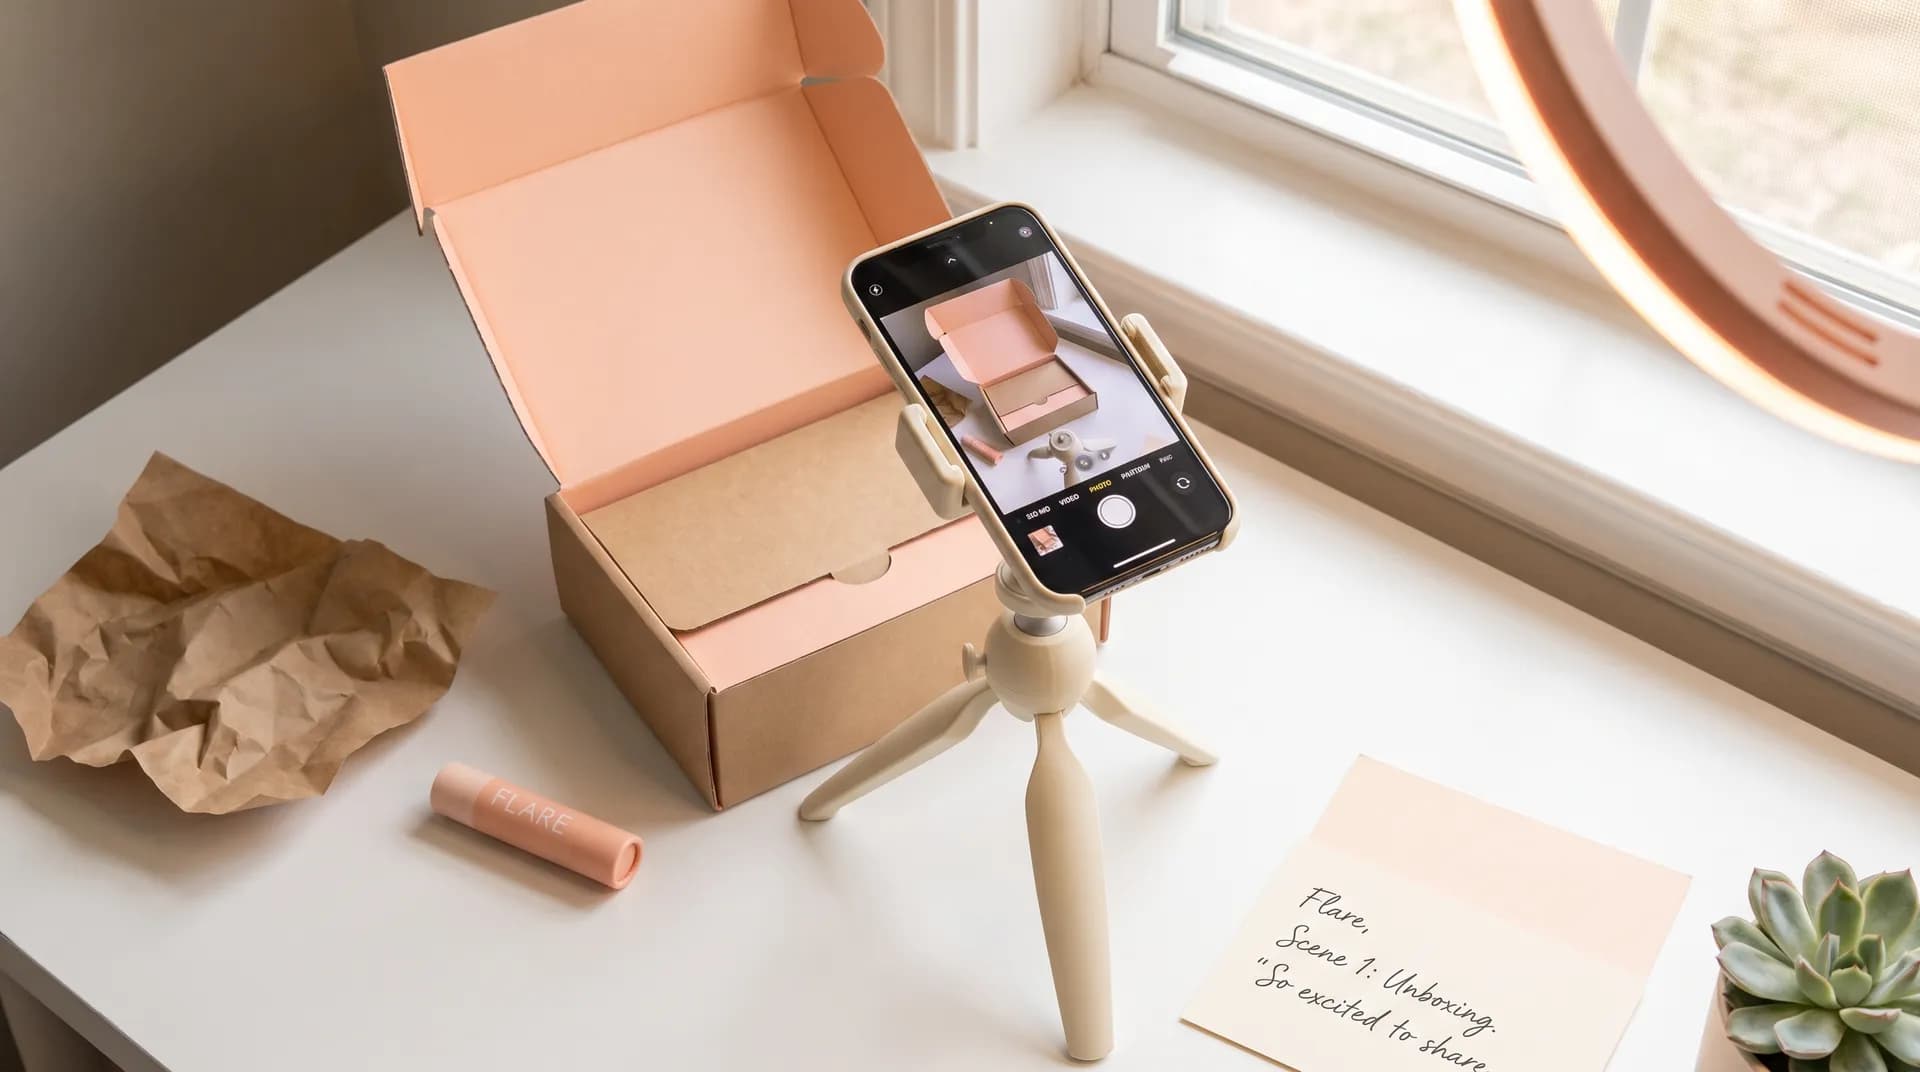
How to film your first UGC video (practice shoot guide)
Step-by-step walkthrough for filming your first UGC practice video at home — unboxing or testimonial — so you build confidence before chasing paid gigs.

The first UGC video I ever filmed took me four hours. The actual footage? Forty-five seconds. I kept stopping because my hands looked weird, or I stumbled over a word, or I convinced myself the lighting wasn't right. Meanwhile, I had zero clients, zero income, and zero reason to be that precious about a practice clip nobody was going to see.
If that sounds familiar, this is for you. Knowing how to film your first UGC video isn't really about technique — the technique is simple. It's about getting reps in before you're in front of a paying brand, so the camera stops feeling like a courtroom and starts feeling like a conversation.
Here's exactly how to do your first practice shoot at home, step by step.
Why a practice shoot matters before you film your first UGC video for real
Most beginner guides skip straight to "get clients, get paid." I think that's a mistake.
When a brand sends you a brief with a $300 deliverable attached, you don't want that to be the first time you've held a product on camera. Nerves compound. You'll rush. The footage will be stiff. Brands notice immediately — UGC scouts review hundreds of submissions and a wooden delivery gets rejected fast.
A no-stakes practice video lets you:
- Work out your framing and focus habits before money is on the line
- Hear what you actually sound like on camera (almost everyone is surprised)
- Build a rough clip you can drop into your portfolio — yes, brands accept self-initiated content
- Figure out which format — unboxing or testimonial — plays more naturally to your personality
I recommend doing both. Pick one product you already own and shoot each format once. That's your first week of practice done.
If you haven't decided on a niche or format yet, read how to choose your UGC niche first — it'll make the practice shoot more intentional.
Step 1: Set up your space (10 minutes, not 10 hours)
Find one spot in your home with consistent natural light. A wall near a window is the single best free lighting setup you have access to. Face the window — don't put it behind you — and film during the day when clouds are diffusing it. Harsh midday sun creates unflattering shadows; overcast light is genuinely perfect.
Keep the background clean and neutral. A plain wall, a tidy shelf, or a simple flat surface all work. Nothing busy, nothing that's going to make the viewer's eye wander from the product and your face.
Phone goes on a tripod or propped stable on a stack of books. Eye level or just slightly above. Looking slightly up into a camera is more flattering and signals openness — looking down reads as sloppy. If you want a full breakdown of camera settings, this phone settings guide for filming UGC covers resolution, frame rate, and focus lock so you're not winging it.
One thing I tell every new creator: you do not need more equipment to do this. A phone, window light, and a free surface is a functional studio. Resist the urge to spend $200 on a ring light before you've filmed a single take. I've seen polished creators shoot conversion-worthy UGC on an iPhone 12 with zero accessories. The gear rabbit hole is a procrastination trap.
Step 2: Choose your format — unboxing or testimonial
These are the two formats worth practising first because they're the two brands assign most often.
Unboxing is exactly what it sounds like — you open a product on camera, narrate what you're seeing, react genuinely. The structure is loose: show the outside of the package, open it, describe the first impression, pull the product out, and give your honest initial reaction. Keep it between 30 and 60 seconds for the practice take.
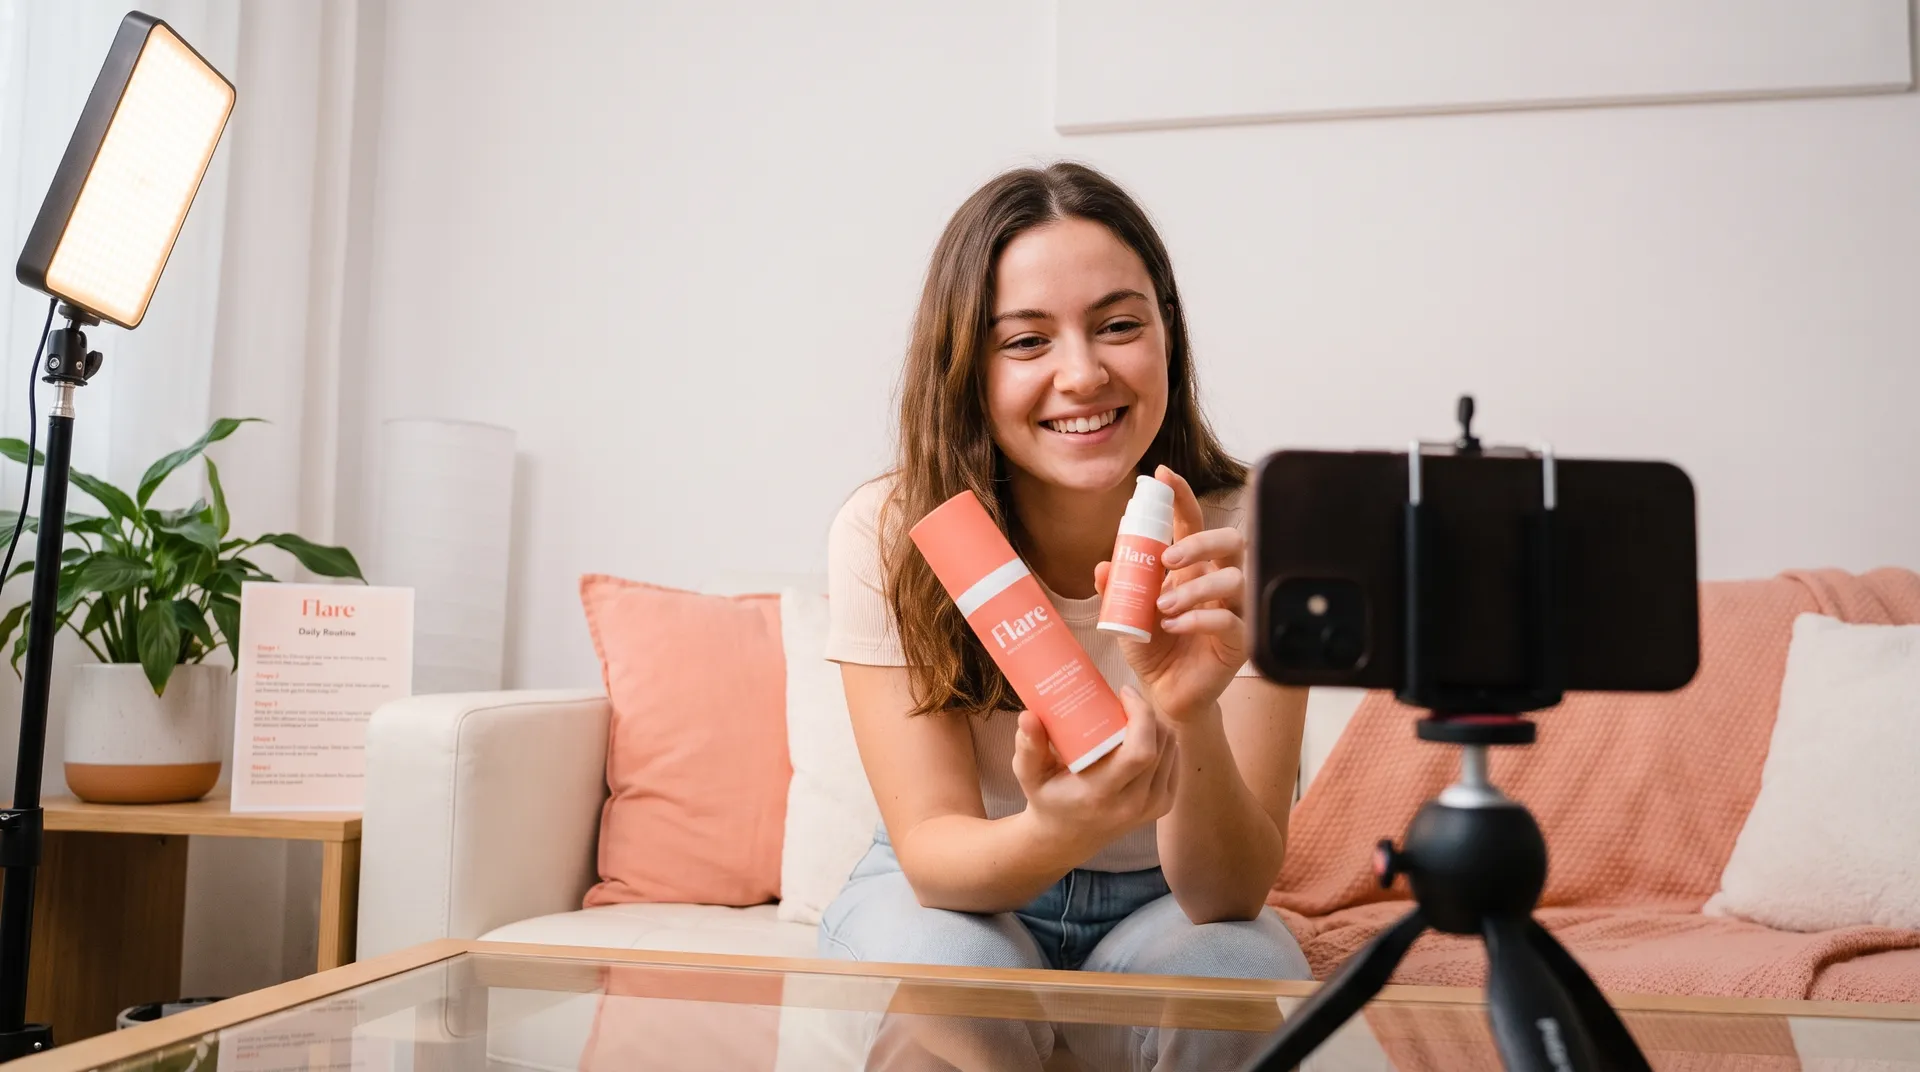
Testimonial is you talking to camera about a product you've used. No unboxing. Just you, the product, and a 3-part story: the problem you had before, what the product did, the result you noticed. That's it. Wistia's research on video testimonials consistently shows that conversational, genuine delivery outperforms scripted-sounding delivery — which is exactly what brands want from UGC creators.
For the practice shoot, I'd do the testimonial with something you've genuinely used and liked. Skincare, a supplement, a kitchen tool, an app — anything. Authenticity is easier when you're not making it up.
Step 3: Write a loose script (not a teleprompter)
This is where most beginners go wrong in one of two directions. Either they write nothing and ramble for three minutes, or they write every word out and deliver it like they're reading terms and conditions.
Neither works.
Write bullet points. Three to five max. For a testimonial, mine would look like:
- Hook: the problem I had (dry skin every winter, tried six things)
- The product: what it is and why I tried it
- Result: one specific change I noticed (no more flaking by week two)
- CTA: where to get it
That's it. A bullet-point script forces you to know what you want to say without locking you into phrasing that sounds rehearsed. Your sentences will come out differently every take — and that variation is exactly what makes UGC feel real rather than produced.
If you want to go deeper on scripting for paid work, how to write a UGC script that gets approved fast covers the format brands actually expect.
Step 4: Film 5 takes minimum — then watch them all
Don't film one take and quit. Film at least five back-to-back without watching any of them until you're done. This is important.
Watching between takes kills your momentum and turns every minor stumble into a major event. Experienced creators batch takes for exactly this reason. By take three or four, your body relaxes, you stop performing, and the camera starts feeling normal. Take one is almost always garbage. Take four is usually surprisingly good.
After filming, watch all five back-to-back. You're looking for:
- Which take felt most natural in delivery
- Whether you're holding the product consistently in frame
- Your pace — most beginners speak 20% too fast on camera
- Eye contact with the lens, not the screen
This watching step is not optional. Hearing and seeing yourself on playback is uncomfortable for about three sessions, then it stops being uncomfortable. There's no shortcut to that calibration.
Step 5: Pick your best take and do a quick edit
You don't need to perfect-edit a practice video. But doing a basic edit teaches you the rhythm of UGC pacing, which matters enormously when you're delivering to a brand.
Trim the beginning (you're almost certainly standing there for two seconds before you speak) and trim the end (same problem). Cut any long pauses in the middle. If you're using CapCut — which is free and built for this — use the auto-caption feature and check if the words are landing clearly. Muffled or rushed audio is the most common beginner mistake and the hardest for brands to overlook.
Wistia notes that audio quality affects perceived video quality more than visual resolution — meaning your slightly shaky handheld footage is forgiven, but muddy audio is not. Film near a closed window, not a fan or AC unit. Speak toward the mic, not past it.
For your practice video, the edit doesn't need to be polished. But do it. Even once. It builds the muscle memory you'll need when you're on a 48-hour turnaround for a paid brief.
Step 6: Save it, review it, repeat next week
Save the best take — raw and edited — in a folder labelled "Practice." After you've done this three or four times across different products and formats, look at the progression. The difference between session one and session four is almost always dramatic. That's your confidence-building arc playing out on screen.
This practice footage is also usable. If your testimonial for a skincare product is genuine, competent, and well-lit, you can drop it into a spec portfolio and pitch brands. Most brands don't care that it wasn't commissioned. They want to see proof you can deliver a clean, watchable clip. For everything you need to know about turning practice clips into actual portfolio pieces, how to become a UGC creator: the complete guide has the full roadmap from first video to first paid deal.
What to do after your first practice shoot
Do another one. Different product. Different format. Different time of day.
Seriously — one practice shoot is a start, but the compounding benefit kicks in around session three or four. Your camera presence, your script-writing speed, your framing instincts all improve together. By the time you're pitching a brand, filming shouldn't feel like an event. It should feel like making lunch.
When you feel ready to actually put that footage to work, the next step is building a UGC portfolio that wins campaigns. And if you're still fuzzy on exactly what the format is and how UGC creators differ from influencers, that's worth clarifying before you pitch — the distinction matters more than most beginners think.
The goal of this practice shoot isn't perfection. It's just getting comfortable enough that your camera confidence doesn't become the bottleneck between you and your first paid brand deal.
Film the video. Watch it. Cringe a little. Film another one. That's the whole system.
Frequently Asked Questions
How long should my first UGC practice video be?
Do I need a ring light to film my first UGC video at home?
Can I use practice videos (not commissioned by a brand) in my UGC portfolio?
Should I script my UGC video word-for-word?
How many takes should I film for a practice UGC video?
What types of UGC videos should a beginner practice first?
Related reading
- How to become a UGC creator: the complete guide
- Best phone settings for filming UGC videos
- UGC creator equipment: what you actually need (and what you don't)
- How to build a UGC portfolio that wins campaigns
- UGC creator vs. influencer: what's the real difference?
- How to start UGC with no following and no experience