
CapCut editing tips for UGC creators that save real time
CapCut editing tips for UGC creators covering captions, speed ramps, export settings, and a template-free workflow that gets videos out the door faster.

I've watched creators spend four hours editing a 30-second UGC video in CapCut. I've also watched creators crank out five polished ad-ready videos in the same time. The difference isn't talent. It's knowing which CapCut features actually move the needle on watch time and conversions, and which ones are just busywork dressed up as "editing."
CapCut editing tips for UGC creators get thrown around a lot, but most of what's out there is surface-level: "add captions," "use trending sounds." Cool, thanks. I want to talk about the stuff that actually changes whether a brand approves your video on the first pass or sends it back with six rounds of notes.
I've edited hundreds of UGC videos for brand submissions, ad tests, and my own portfolio pieces. Here's the CapCut workflow I actually use, not the one that looks good in a tutorial.
Why CapCut editing tips for UGC creators matter more than the footage itself
Here's an uncomfortable truth: mediocre footage with a great edit outperforms great footage with a lazy edit almost every time. Brands buying UGC for paid ads care about one thing — does this stop the scroll and hold attention long enough to sell the product. Editing is where that happens.
If your footage isn't dialed in yet, go read how to film UGC content that converts first. This post assumes you've already got usable clips and just need to turn them into something a brand will pay for.
CapCut is the tool of choice for most UGC creators because it's free, fast on mobile, and exports in the exact aspect ratios TikTok and Meta want. But most people use maybe 15% of what it can actually do. The rest of this post is the other 85%.
The mistake I see constantly
New creators treat CapCut like a trimming tool. Cut the bad parts, slap on a caption, export. That's not editing — that's assembly. Real editing controls pacing, directs attention, and manufactures the feeling of momentum even when your footage is just you talking in your kitchen.
Auto-captions: get them right or don't bother
Auto-captions in CapCut are genuinely good now, but the default settings make your video look like every other UGC ad on the internet. Here's how I actually use them.
Run the auto-caption tool first, then immediately fix three things:
- Timing drift. CapCut's speech recognition slips on filler words and product names. Scrub through and nudge word timing so captions land exactly on the syllable, not half a beat late.
- Font choice. Skip the default bold yellow. It reads as "generic ad" to anyone who's scrolled TikTok for more than five minutes. I use a clean sans-serif with a subtle drop shadow instead — still readable, less spammy.
- Word grouping. Two to four words per caption chunk max. One giant sentence sitting on screen kills pacing and gives viewers permission to stop reading (and stop watching).
Captions aren't optional anymore — around 80% of video is watched with sound off at some point, especially in feed environments. But sloppy captions actually hurt more than no captions, because they signal low effort before the viewer even hears your hook. If you're still working on the hook itself, this breakdown of UGC video hooks pairs well with this section.
Speed-ramp cuts that don't feel gimmicky
Speed ramping got a bad reputation because everyone used it for the same three seconds of a coffee pour. Used correctly, it's one of the most useful pacing tools in your kit — especially for UGC where you don't have B-roll variety to lean on.
Here's my actual rule: speed ramp to hide dead time, not to add flash. If someone is walking to grab a product off a shelf, that's two seconds of nothing. Ramp it to 200-300% speed inside CapCut's speed curve tool, then snap back to 100% the moment they touch the product. The viewer's brain reads it as intentional, not as a jump cut that broke the flow.
For product demos specifically, I use a short speed ramp right before the "reveal" moment — the unboxing, the swatch, the result. It builds a half-second of anticipation without adding runtime. If you're filming demo content, my product demo filming guide covers how to shoot for this in-camera so the ramp has something to work with in the edit.
Two things to avoid:
- Don't ramp during dialogue. It distorts pitch and makes you sound like a chipmunk unless you separate the audio track first.
- Don't ramp more than twice in a 30-second video. It stops feeling like pacing and starts feeling like a trend you're chasing.
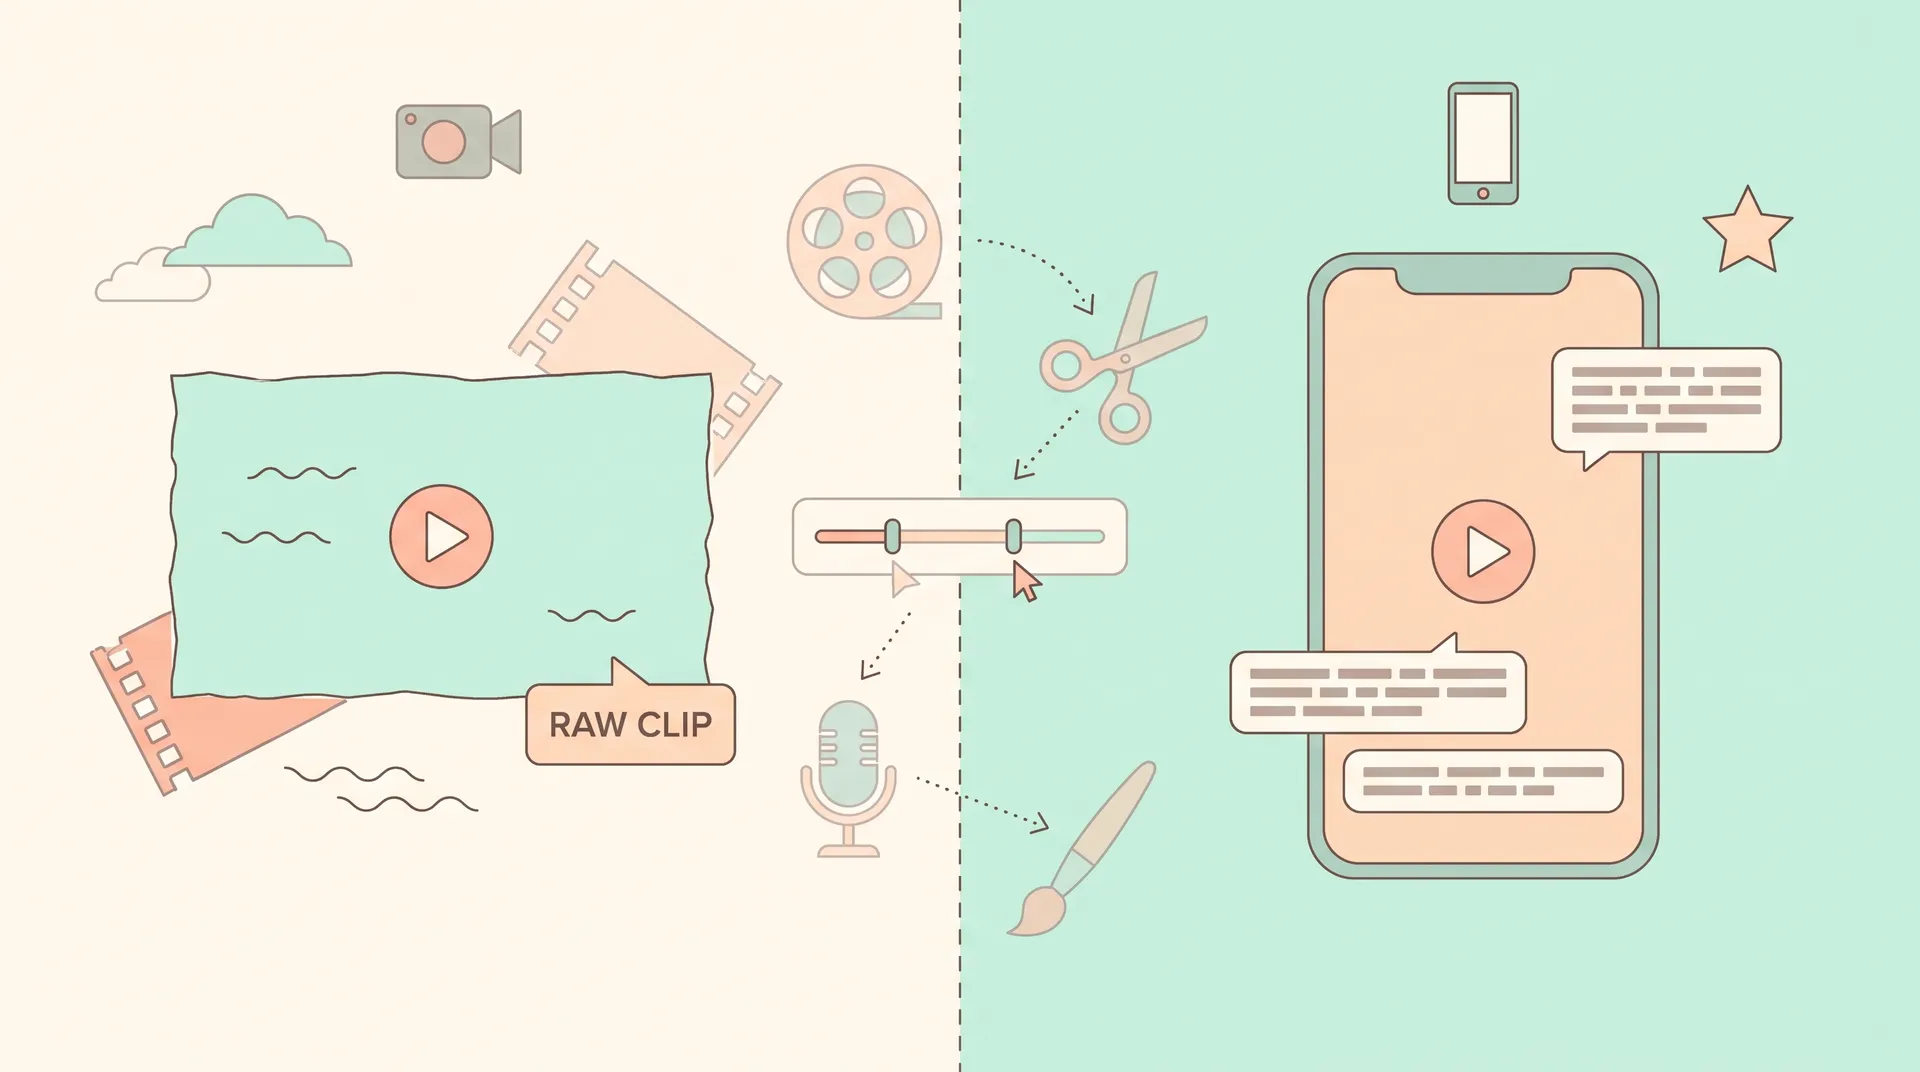
Ditch the templates — build a repeatable manual workflow instead
I know CapCut's templates are tempting. You drop in your clips, it spits out something that looks decent, and you move on. But here's the problem: brands buying UGC at scale see the same templates over and over. If your video has that unmistakable "auto-generated" bounce and zoom pattern, it reads as generic — and generic doesn't convert as well as something that feels shot and cut specifically for the product.
My actual workflow, every time:
- Rough cut first, silent. Drag all usable clips onto the timeline, cut for content only. No effects, no captions. This forces you to judge pacing on visuals alone.
- Trim the fat. Most first-time UGC cuts run 20-30% too long. Go clip by clip and ask "does this sentence need every word?" Cut mid-word if you have to. Aggressive trimming is the single highest-leverage editing skill in CapCut.
- Add captions. Now that pacing is locked, layer in captions using the process above.
- Manual zoom punches, not templates. Instead of a canned zoom-in effect, use CapCut's keyframe tool to punch in slightly on emphasis words — 5-8% scale, nothing dramatic. It reads as intentional camera work, not a filter.
- Music and SFX last. Add a low-volume trending sound or a subtle whoosh on transitions. Keep it under the dialogue, always.
This five-step order matters. Editing pacing before adding effects means every decision after that is in service of pacing you already locked in, not fighting against a template's built-in rhythm. For more on this specific skill, my pacing and conversions guide goes deeper on cut timing.
Export settings that actually match what TikTok and Meta want
This is the part people skip, and it's costing them quality on the platform side. TikTok and Meta both compress video hard on upload, and if you export from CapCut at the wrong settings, you're compressing a compressed file — the result looks muddy compared to a native-shot video.
My export settings for TikTok organic and Spark Ads:
- Resolution: 1080x1920, always
- Frame rate: match your source footage (don't convert 30fps to 60fps, it introduces artifacts)
- Bitrate: highest available in CapCut's export menu — the file size increase is worth it
- Format: MP4, H.264
For Meta ads (Reels placements, Feed, Stories), the specs are nearly identical, but I always double-check against Meta's current ad specs page since they update dimensions and file size caps periodically — worth bookmarking rather than trusting a two-year-old blog post's numbers.
One thing that trips people up: CapCut's default export sometimes downsamples audio to save file size. Go into the export settings and manually confirm audio bitrate is at its highest option before you hit export. A crackly or thin-sounding audio track will tank a video's approval rate with brands faster than a slightly soft video will. If your source audio was rough to begin with, that's a filming problem more than an editing one — my audio setup guide covers how to avoid needing to fix it in post at all.
A quick word on what CapCut can't fix
No amount of editing trickery saves a video with a weak hook or bad framing. CapCut can hide dead air, tighten pacing, and make your captions pop — but it can't manufacture a compelling opening line or fix footage where the product is barely visible. If you're consistently getting videos rejected by brands after a solid edit, the problem is probably upstream. Check your framing and composition or go back to basics with phone-only filming technique before blaming the software.
Editing is a multiplier, not a fix. A 1.5x video with sloppy editing becomes maybe a 2x with good editing. But a 0.5x video — bad hook, bad lighting, bad audio — stays a 0.5x no matter how many keyframes you add.
FAQ
Frequently Asked Questions
Is CapCut good enough for professional UGC ads, or do I need Premiere?
What's the best caption font for UGC videos in CapCut?
How long should a UGC video edit take in CapCut?
Should I speed ramp every transition in a UGC video?
What export settings work best for TikTok and Meta ads from CapCut?
Do I need CapCut Pro for UGC editing?
Related reading
- How to film UGC content that converts (full guide)
- UGC video pacing: edit for watch time and conversions
- UGC video hooks: stop the scroll in 3 seconds
- How to film a UGC product demo that actually converts
- Best audio setup for UGC video creators (no pro mic)
- How to Batch Film UGC Content in One Shoot Day