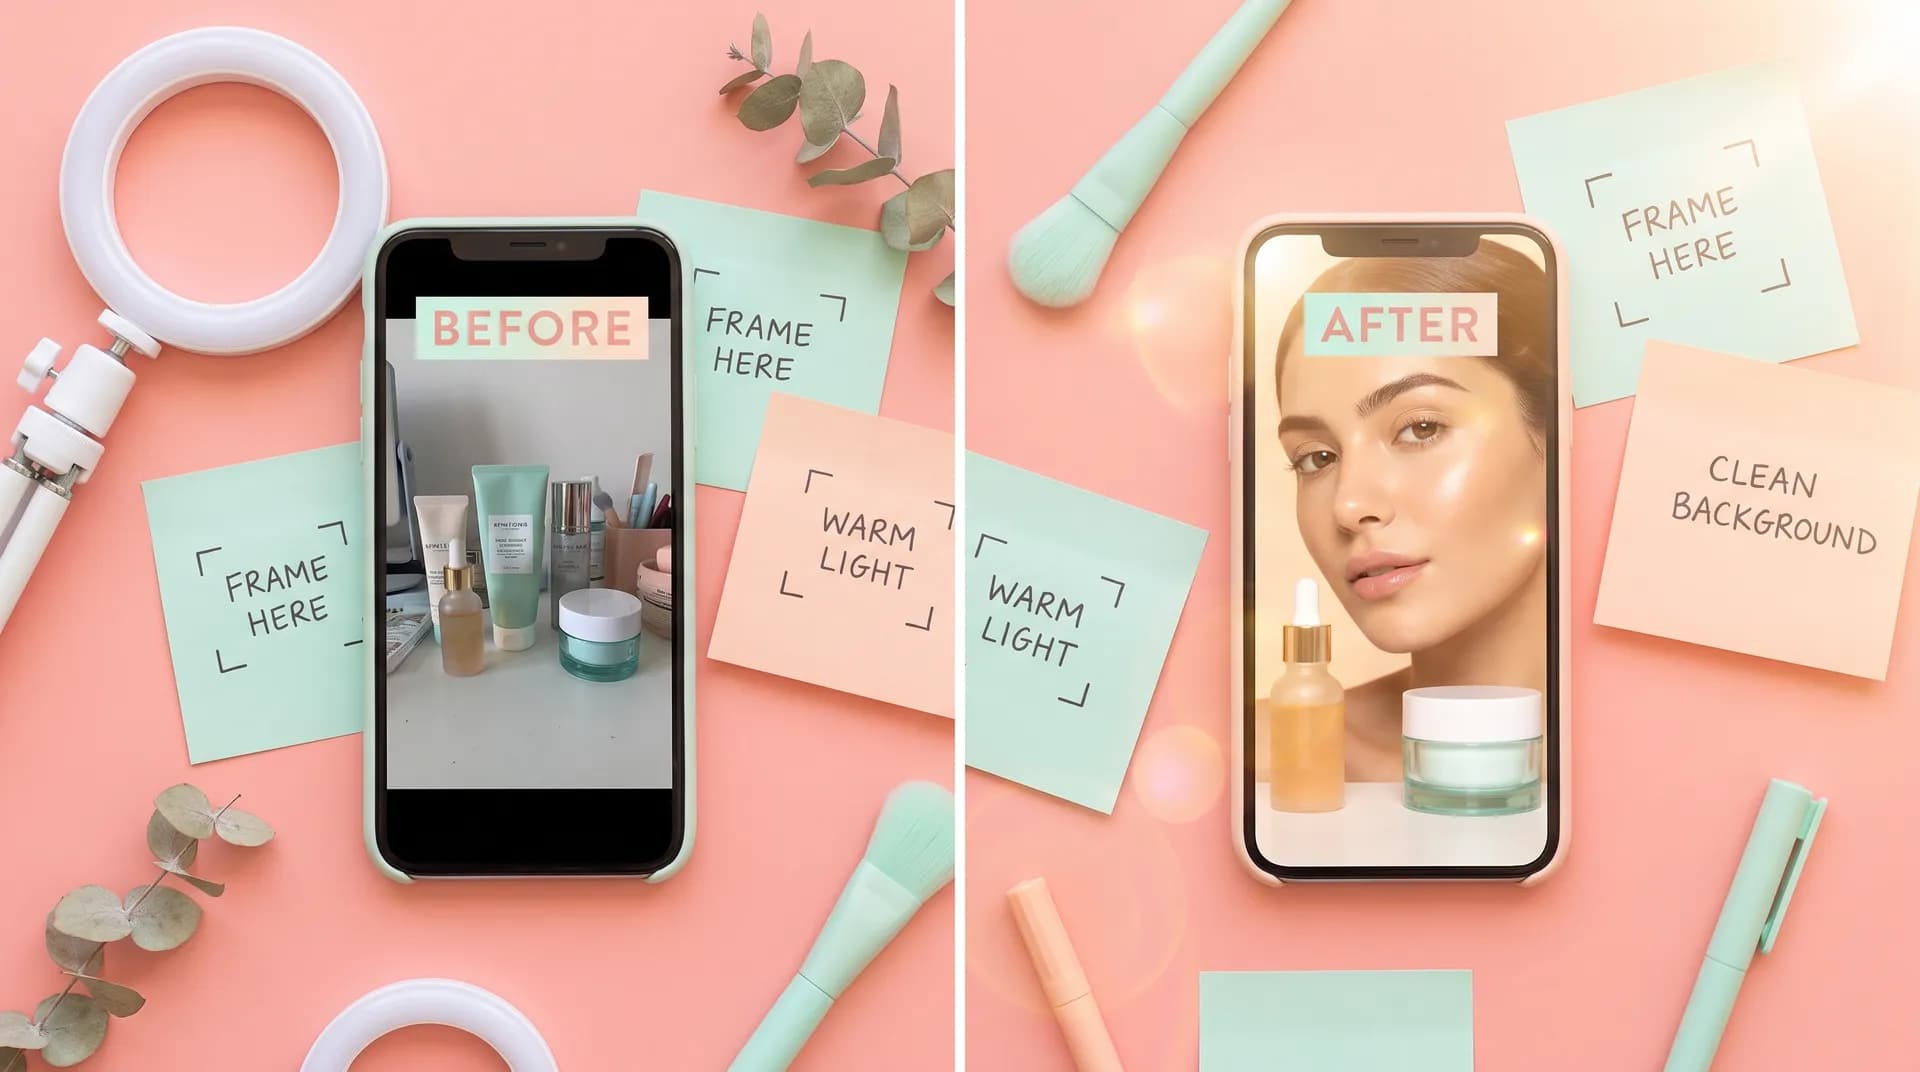
How to film a UGC before-and-after video right
Master the UGC before-and-after video format: consistent framing, matched lighting, smart transitions, and storytelling that makes transformations feel real.

A brand sent me a revision note once that said: "The before and after don't feel like they're the same person in the same room." The creator had moved the camera between shots, changed the lighting, and even wore a different top. The transformation looked fake — not because the product didn't work, but because the production gave the game away.
Knowing how to film a UGC before-and-after video properly is one of those skills that separates creators who get repeat briefs from ones who get politely ghosted. Brands run before-and-after content because it converts. Nielsen data consistently shows that consumers find transformation-style content among the most persuasive ad formats — it's a visual proof point brands can't manufacture in a studio. But only if it looks believable.
Here's exactly how to get it right.
Why the before-and-after UGC format is so powerful (and so easy to ruin)
The format works because it does something most ads can't — it compresses time. In 15-30 seconds, the viewer sees the problem, feels the relatability of the "before," and then witnesses a change they can imagine happening to them. That emotional arc is what drives clicks and purchases.
But brands aren't buying the format. They're buying the credibility of the transformation. The moment the before and after feel mismatched — different angles, different light, continuity gaps — that credibility collapses. The viewer's brain clocks it as staged, even if they can't articulate why. And a staged-looking transformation is worse than no transformation at all, because it actively undermines trust.
This is why the technical execution matters just as much as the storytelling. The two have to work together. If you're still building out your overall filming foundation, How to film UGC content that converts is the place to start — it covers everything from camera settings to shot composition. This post goes deep on the before-and-after format specifically.
The framing lock: your single most important step
Before you film a single frame, set your framing and lock it down physically.
This sounds obvious. Almost no one does it properly.
Put your phone on a tripod. Not resting against a wall, not held by a friend — a tripod. Position it exactly where you want it. Then take a strip of painter's tape or washi tape and mark the tripod feet on the floor or desk surface. That way, if you move the tripod between before and after shots (because you need to apply a product, change clothes, or shoot on different days), you can return it to the exact same position.
Now look through the viewfinder. Pick reference points in the frame — a door edge, a lamp, a shelf line — and make sure they're in the same position in both shots. This is what cinematographers call a locked frame, and it's the backbone of any convincing before-and-after.
Matching your shooting distance and angle
The camera angle shifts are what I see kill most UGC before-and-afters. Even a 10-degree tilt upward makes the subject look more flattering in the "after." Viewers notice. Skeptical ones will call it out in comments, and comment-section doubt is the last thing a brand's ad needs.
Set your phone at eye level or slightly below for face/skincare content. Overhead for product-on-surface shots. Slightly above for full-body or hair content. Whatever you choose — keep it identical. If you're shooting the before and after in one session (which I'd strongly recommend), don't touch the tripod between shots. Walk away, do what you need to do, come back to the same frame.
For skincare specifically: pull back far enough that your shoulders are in frame. Tight face shots look great for detail, but they also make lighting and position discrepancies much harder to control.
Matching your lighting between shots
Lighting is where most creators lose the battle before it even starts.
Natural window light looks beautiful in UGC. It also changes every 20 minutes. That means if you film your "before" at 9am and your "after" at 11am, you've already got two different lighting environments — even in the same room, same spot.
My recommendation: pick artificial lighting for before-and-after content. A decent ring light or LED panel gives you a consistent, repeatable light source you can recreate exactly. Check out UGC lighting on a budget: natural light vs. ring light vs. LED panel if you're deciding what to invest in.
If you insist on natural light, shoot both clips within the same 30-minute window — ideally on an overcast day when the light is diffused and less directional. Sunny days create shadows that move fast.
Color temperature consistency
Even with the same light source, small changes in white balance between clips will make your skin tone look noticeably different. Set your phone to a fixed white balance before shooting your before clip, and don't let it change for the after. On iPhone, tap and hold on the subject in your native camera app to lock exposure and focus. On Android, most camera apps have a manual white balance setting.
This single step eliminates the weird "you look warmer/cooler" problem that makes two clips look like they were shot in different houses.
Storytelling structure: the arc that makes it convert
Good production gets you to credible. Good storytelling gets you to conversion. You need both.
The structure I use — and the one most high-converting UGC formats follow — is simple:
Set up the problem visibly. Don't just say "my skin was so dry." Show it. Hold the camera close (within your locked frame) so the viewer can see texture, redness, or whatever the before-state actually looks like. The problem needs to register visually, not just verbally. Use your script to name the pain point out loud while the camera shows it.
Introduce the product without over-explaining. Hold it up, say what it does in one sentence, and move on. Viewers don't need a product monologue — they need to see you use it. A quick cut showing application is enough. The Problem-Agitate-Solve framework works perfectly here: name the problem in the before, agitate with a quick "I've tried everything," and position the product as the solve before revealing the after.
Reveal the after with energy. This is the payoff. Your delivery matters here — if you look flat or detached, the transformation won't land emotionally even if it looks great visually. React like you're showing a friend, not reading from a script. On-camera delivery tips can help you find that natural energy if you're struggling with it.
Time labels and text overlays
Adding a simple "Day 1" / "Day 14" text overlay (or "Before" / "After") does two things: it tells the viewer what they're looking at, and it implicitly signals that time passed — which makes the transformation feel more earned and real. Keep it minimal and on-brand. A clean sans-serif font in white or a brand-adjacent color is all you need.
Don't put the label directly over your face. Bottom third of the frame, small enough to not compete with the visual content.
Transition styles that work (and one that doesn't)
The cut between before and after is a creative choice, but some options work far better than others.
Hard cut: The most common, and still the most effective for snappy short-form content. Before clip ends, after clip starts. Clean, fast, no fuss. Works on TikTok and Reels where pacing is everything.
Match cut (hand swipe): Film your hand swiping across the camera lens at the end of the before clip, and start the after clip with a matching swipe coming from the other side. In editing, you cut them together so it looks seamless. CapCut has a built-in "wipe" transition that approximates this. It feels native to TikTok and tends to perform well with beauty and skincare content.
Split screen: Side-by-side works really well for static content (skincare texture, product comparison, room makeovers) but feels awkward for content where you're talking to camera. Use it strategically.
The slow zoom reveal: Don't. It telegraphs "ad" immediately, looks overdone, and slows down pacing in a format where viewers are deciding in under 2 seconds whether to keep watching. If you want a strong hook instead, check out UGC video hooks that stop the scroll for formats that buy you the first 3 seconds.
One shooting-day workflow that makes this easy
Here's what I'd recommend for a same-day shoot:
- Set up your tripod and tape the feet
- Set white balance, lock exposure
- Film the before — including any close-up detail shots you want to cut to
- Do whatever the product requires (apply, wait, use)
- Return to the exact same position without moving the tripod
- Film the after — match the angle, match your energy
Shoot everything in one session when possible. The lighting will be closer, the continuity will be tighter, and you'll spend less time in post trying to color-match two clips that were shot in completely different conditions.
If a brand brief asks for "Day 1 vs. Day 30" content and you're filming it in one session: that's fine and completely standard. Brands know the timeline is compressed — what they're paying for is the visual and emotional arc, not a documentary.
FAQ
Frequently Asked Questions
How do I film a before and after UGC video that looks consistent?
Should I film the before and after on the same day?
What's the best transition for a UGC before-and-after video?
Why does my before and after UGC look fake?
Do I need a ring light for UGC before-and-after videos?
How long should a UGC before-and-after video be?
Related reading
- How to film UGC content that converts (full guide)
- UGC video ideas: 12 high-converting formats with examples
- UGC scripting: the Problem-Agitate-Solve framework
- UGC video pacing: edit for watch time and conversions
- UGC lighting on a budget: natural light vs. ring light vs. LED panel
- Talking head UGC: on-camera delivery tips that build trust