How to film a UGC unboxing video that feels real
Learn how to film a UGC unboxing video with handheld angles, natural reaction pacing, and audio capture that reads genuine — not staged. Practical techniques inside.

A brand sent me a $200 skincare set to unbox on camera. I filmed it eleven times. Every single take looked like a QVC segment from 2009 — stiff, over-lit, suspiciously enthusiastic. The twelfth take was the one that landed. I hadn't planned to roll on it. I just picked up the box again, genuinely annoyed at myself, and hit record. That version got used in paid ads for four months.
That story is basically the whole lesson. But since you need specifics, let's get into the actual mechanics of how to film a UGC unboxing video that registers as real — not rehearsed.
Why UGC unboxing videos live or die on authenticity
Brands want unboxing UGC precisely because it mimics the experience of a friend showing you something they just got in the mail. The second it looks like a commercial, that illusion breaks. Viewers feel it instantly, even if they can't name what's wrong.
The death signals are predictable: too-smooth camera movement, reactions that land exactly on cue, a product held at a perfect 45-degree angle every single time. These aren't mistakes — they're symptoms of over-preparation.
The fix isn't to prepare less. It's to structure your shoot so the preparation stays invisible. Everything I'm about to cover is about building a repeatable process that produces footage that looks like it happened spontaneously — because most of it actually did.
If you want the broader foundation first, How to film UGC content that converts (full guide) covers the full video setup principles. This post goes deep on unboxing specifically.
How to film a UGC unboxing video: the camera setup
Go handheld. No tripod.
This is the single biggest technical decision and the one I see new creators get wrong most often. A tripod-locked unboxing looks like product photography B-roll, not a real moment. Handheld introduces micro-movement that signals "human behind the camera" to a viewer's brain.
Hold your phone with both hands, elbows tucked against your ribs. That's your stabilization — not a gimbal, not a grip. You want movement, just not wild shaking.
Frame yourself into the shot.
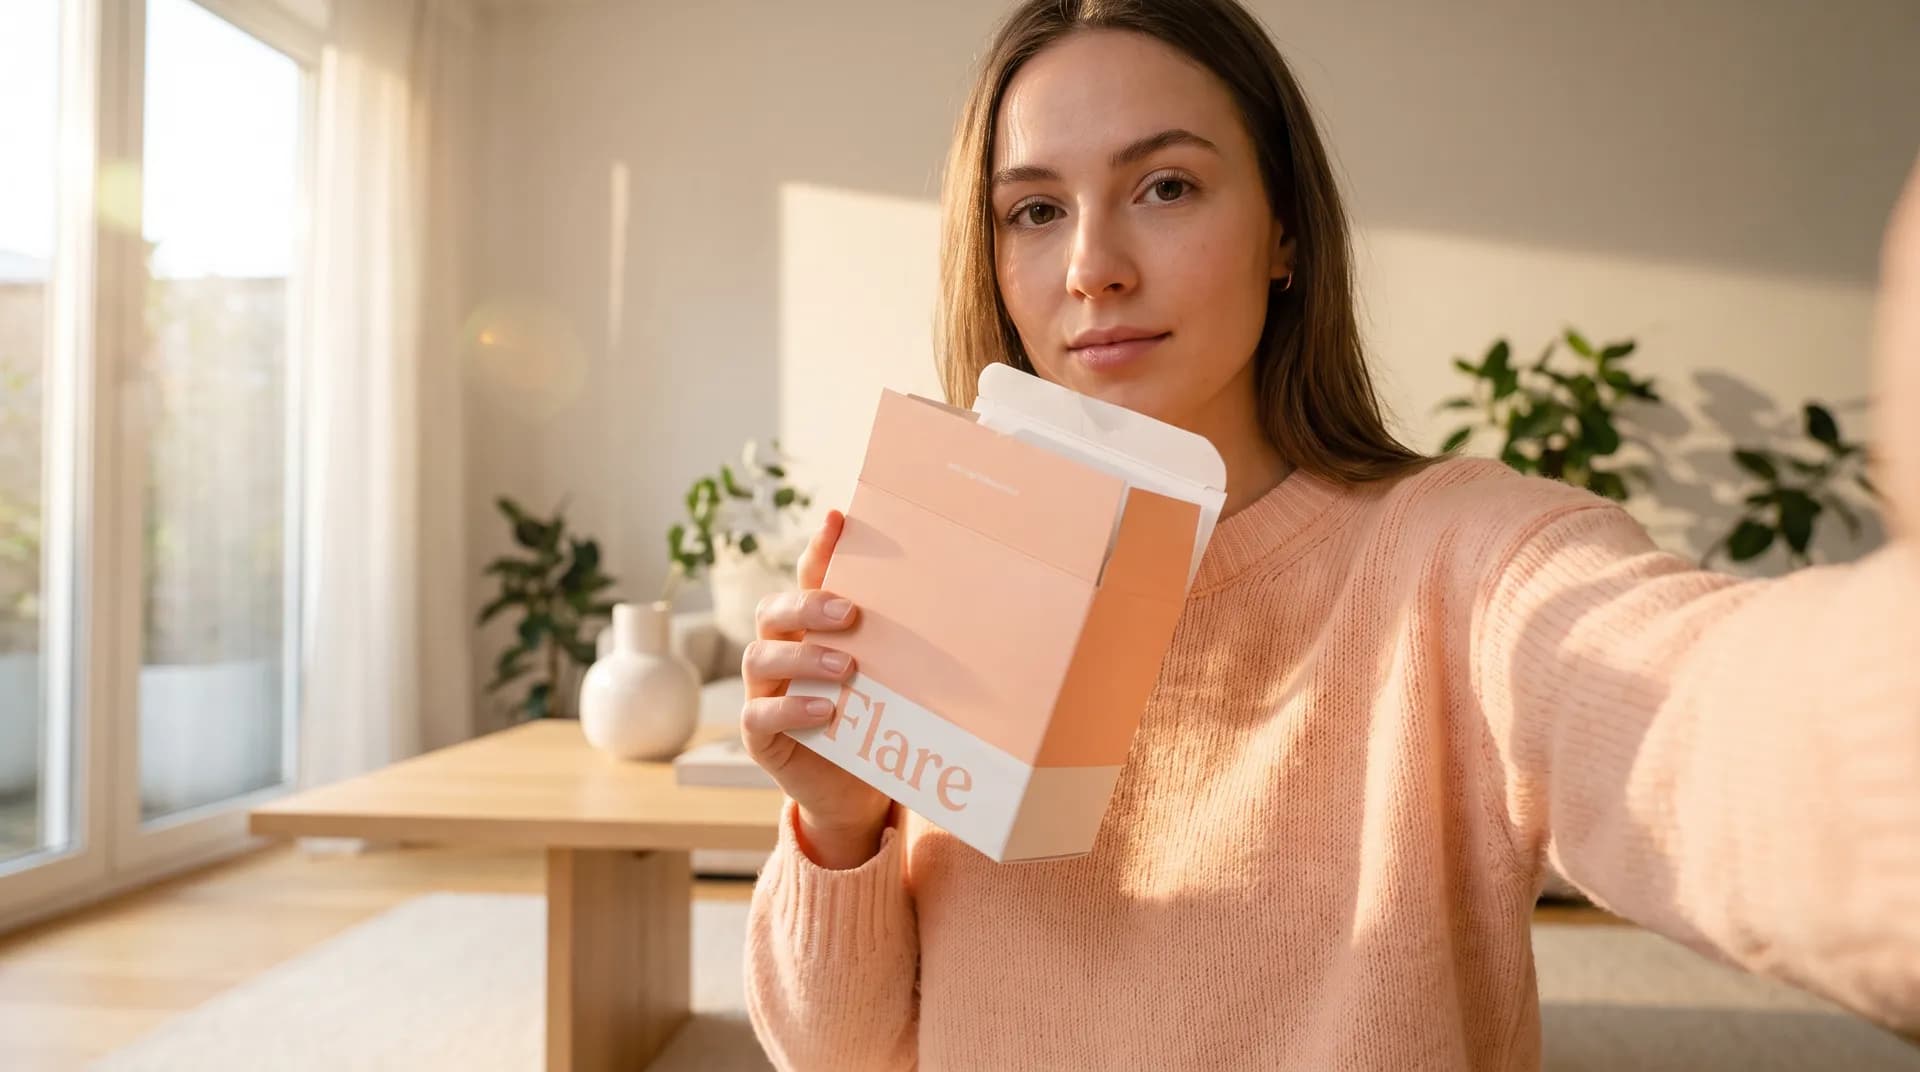
The best-converting unboxing UGC I've made includes my face in the top third of the frame, hands and the box in the lower two-thirds. You don't need a wide shot. You don't need to see your whole setup. A tight frame — chest to top of head, box central — is enough. It creates intimacy. Viewers feel like they're sitting across from you.
Angle matters more than you think.
Shoot slightly below eye level, tilted up toward your face. It reads casual. Eye-level-locked can look sterile. If the brief specifically asks for POV footage of the unboxing, go overhead — but know that overhead with no face is harder to make feel genuine. Mix it with at least a few face-to-camera moments.
For more on phone-specific settings and framing, check out how to film UGC content with just your phone.
Product reveal sequencing: slow down
Here's where most creators blow it. They unbox too fast.
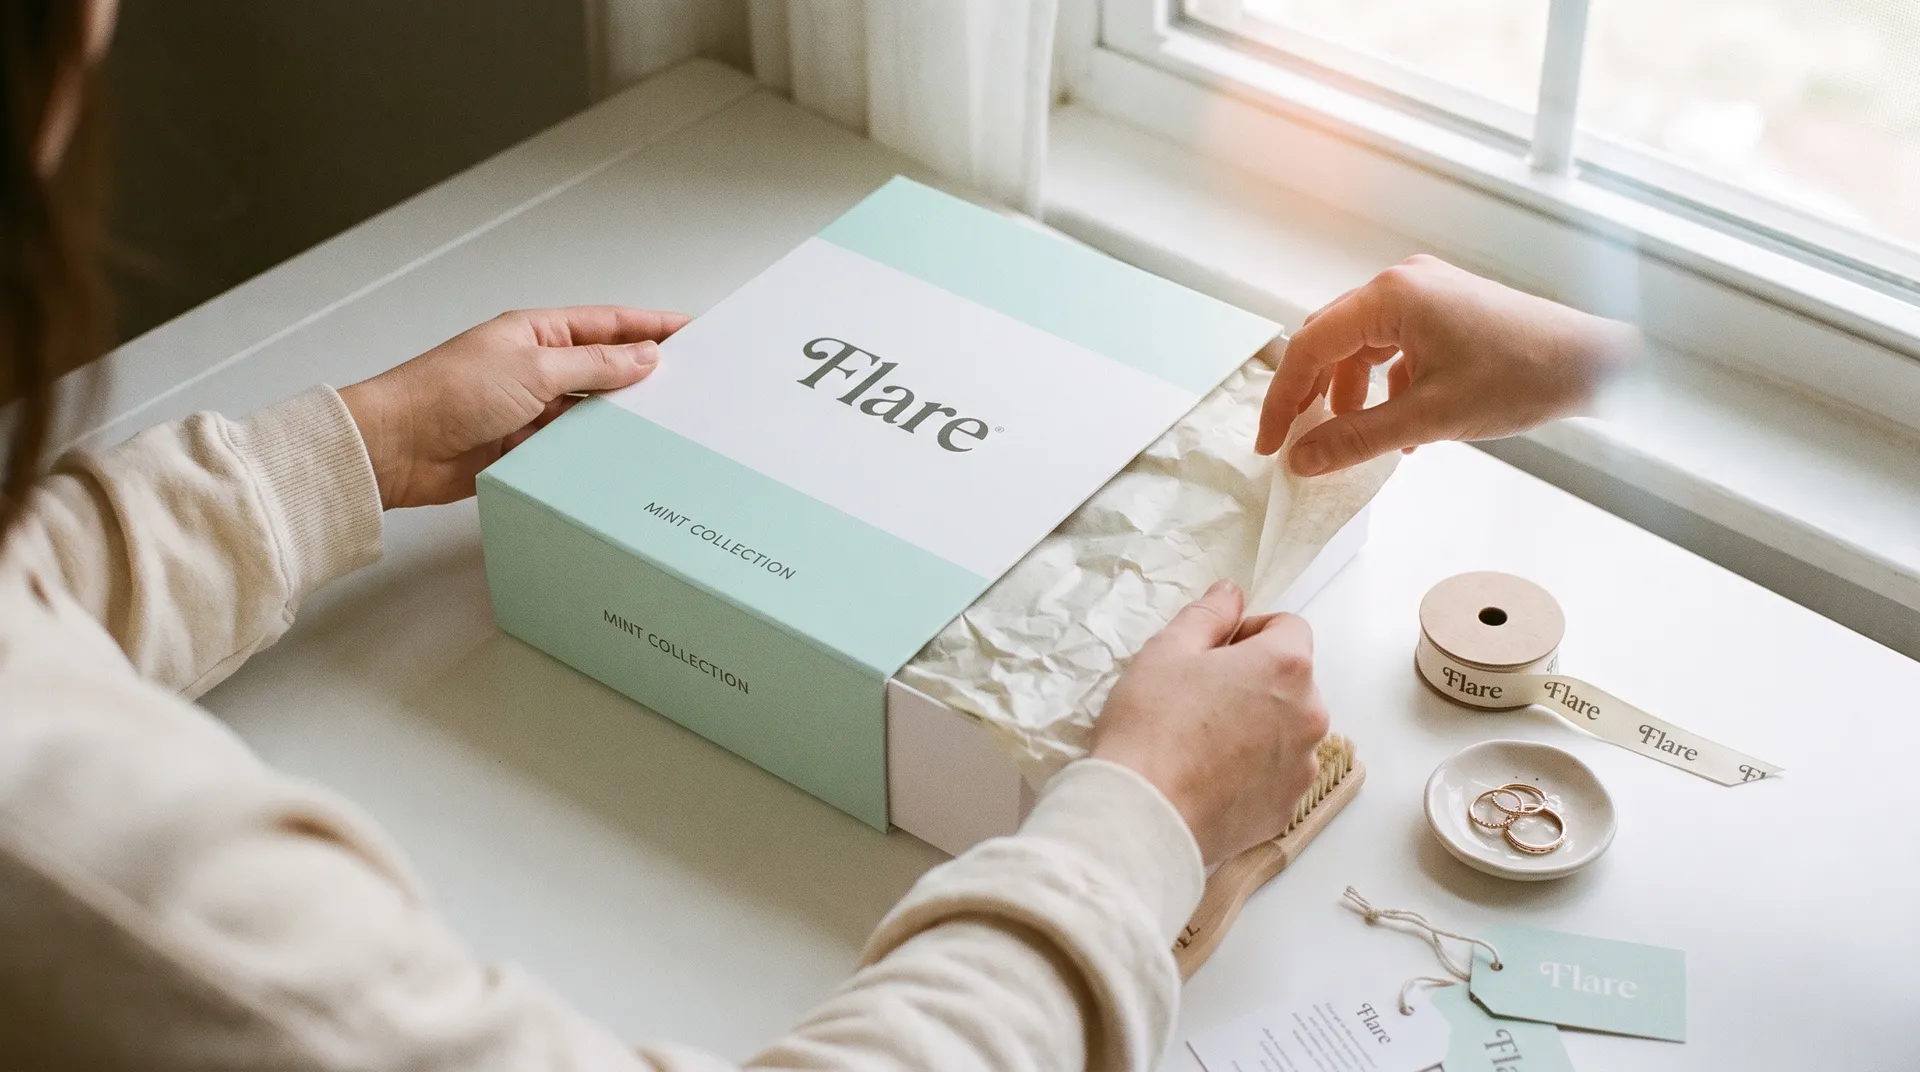
The instinct is to keep things moving, avoid dead air, hit the reveal cleanly. What actually happens is the pacing feels rushed and fake. Real people who just got something in the mail pause. They inspect the packaging. They read the card. They lift out tissue paper slowly, not because they're performing slow — but because they're actually looking at what's in their hands.
The three-beat reveal sequence:
- React to the outer packaging first. Pick it up, turn it over, read the label out loud if it has copy. Twenty seconds here feels natural. Skipping it feels like you already know what's inside — because you do.
- Open deliberately. Don't pre-score the tape. Don't open it before the shoot. Use the actual unboxing as your one live take where possible. If the brief requires a second take, open a separate unit rather than retaping.
- Pause on the product before speaking. Pull it out. Hold it. Look at it for two full seconds before your reaction. Those two seconds of non-verbal response are the most convincing moment in any unboxing video. Cut them and you're left with pure performance.
This sequencing logic connects directly to how pacing affects conversion across all UGC formats — UGC video pacing: edit for watch time and conversions gets into the editing side of this in detail.
Natural reaction pacing: the hardest part to fake
Your reaction has to match the product's actual price point and category.
A $15 serum and a $400 perfume shouldn't produce the same reaction. Brands brief you for enthusiasm, but they don't always brief you on calibrated enthusiasm. That calibration is your job.
Before you film, use the product for 24-48 hours if you can. Actually form an opinion. Real reactions come from real experience, not from reading the brand's website five minutes before you hit record. If you can't pre-use it (it's fragile, it's a supplement, it's a limited unit), at minimum hold it, smell it, read every word on the packaging. Give yourself actual sensory information to react to.
The "pause before the punchline" technique.
Don't script your reaction to land on a specific word or phrase. Instead, give yourself a beat — an inhale, a glance up — before whatever you're going to say. That beat is what separates genuine from performed. It signals that you're forming a thought, not delivering a line.
This principle also applies to hook delivery. If you're opening with a bold claim about the product, that pause is even more critical — see UGC video hooks: stop the scroll in 3 seconds for how to build the hook around the unboxing moment itself.
Audio capture for unboxing content
This one's underrated. Unboxing is one of the few UGC formats where ambient audio is part of the experience — the crinkling of tissue paper, the sound of tape being peeled, the soft thud of a product hitting a wooden surface. These sounds communicate realness at a neurological level. Research into multisensory experience suggests packaging sounds actively influence perceived product quality.
Don't record in total silence. Don't record with a fan running in the background either. A quiet room with some ambient texture — soft outdoor noise through a window, a low hum — is the sweet spot.
Your phone mic is probably fine. Don't over-engineer it. The biggest audio mistake in unboxing UGC isn't gear — it's distance. If your phone is more than 18 inches from your face, your voice loses presence and sounds like it was recorded in a different room than your hands. Keep it close.
For technical audio setup across formats, best audio setup for UGC video creators (no pro mic) covers what actually matters beyond the unboxing format.
One thing I always do: record a separate "packaging audio" clip right before my main take — just 10-15 seconds of me handling the box, rustling the tissue paper, peeling the insert out — with no talking. This gives me clean foley to layer under any section in the edit where my voice is covering up the good sounds. Editors love this. Brands notice it in the final product.
Lighting for unboxing: keep it honest
Perfect three-point lighting looks like a product shoot. Window light looks like a person opening something on their kitchen table. You want the latter.
Position yourself so the window is to your side — not directly in front (blows out the background), not directly behind you (silhouettes your face). That 45-degree side-light is the most natural, flattering setup you can do without any equipment. Check our full breakdown of UGC lighting on a budget: natural light vs. ring light vs. LED panel if you want to compare setups.
One practical tip specific to unboxing: the product itself needs to be visible. If you're in moody low light because it looks "authentic," but the viewer can't see the product clearly, you've failed the brand brief regardless of how real it looks. Brightness matters. Natural light is best because it's diffused — shadows are soft, colors read accurately. That matters for product photography reasons, not just aesthetic ones.
Research from YouTube's own creator academy consistently shows that lighting quality is one of the top factors viewers cite when deciding whether to trust a creator. This holds for short-form too.
What to do if you need multiple takes
Brands expect polish. You need authenticity. These feel like they contradict — but they don't have to.
Take 1: the live unboxing. Don't stop it. Let it be imperfect. This footage often has the best genuine moments even if the camera angles are off. I review this take before filming anything else.
Take 2 onwards: recreate specific beats. Don't re-unbox the whole thing. Pull out the product for a better close-up of your reaction. Re-shoot the opening of the box lid. Isolate the moments you need to improve and film those specifically. Don't redo the whole sequence from scratch or you'll manufacture the inauthenticity you're trying to avoid.
If the brand sent one unit, take 1 needs to count. That's the real argument for not over-prepping — when you know you only get one real open, you treat it differently. You're present for it.
The one-unit rule: Whenever possible, ask the brand to send two units — one to pre-use/review, one to film the actual unboxing. Most brands will say yes. It costs them almost nothing and the footage quality improvement is real.
How to make b-roll work for the edit
The talking head moment and the unboxing moment are your hero footage. But you need cutaways. These are the close-up shots: the product label, the texture of the packaging, the card inside the box, your hands running over the product surface.
Film at least 8-10 b-roll clips after your main take. Hold each one for a minimum of 10 seconds — editors need handles. How to shoot b-roll for UGC videos that sell covers technique in full, but for unboxing specifically: move slowly, keep the phone handheld, and let the product fill the frame.
One thing that often gets missed: shoot b-roll of the empty box after everything is out. The empty box with the tissue paper in it is a genuinely useful cutaway and most creators never think to grab it.
FAQ
Frequently Asked Questions
How long should a UGC unboxing video be?
Should I script a UGC unboxing video?
Do I need to use a gimbal for unboxing UGC?
How do I make my reactions look genuine on camera?
What's the best camera angle for a UGC unboxing video?
Can I film a UGC unboxing video with just my phone?
Related reading
- How to film UGC content that converts (full guide)
- UGC video ideas: 12 high-converting formats with examples
- UGC video hooks: stop the scroll in 3 seconds
- How to shoot b-roll for UGC videos that sell
- UGC lighting on a budget: natural light vs. ring light vs. LED panel
- Best audio setup for UGC video creators (no pro mic)
- UGC video pacing: edit for watch time and conversions