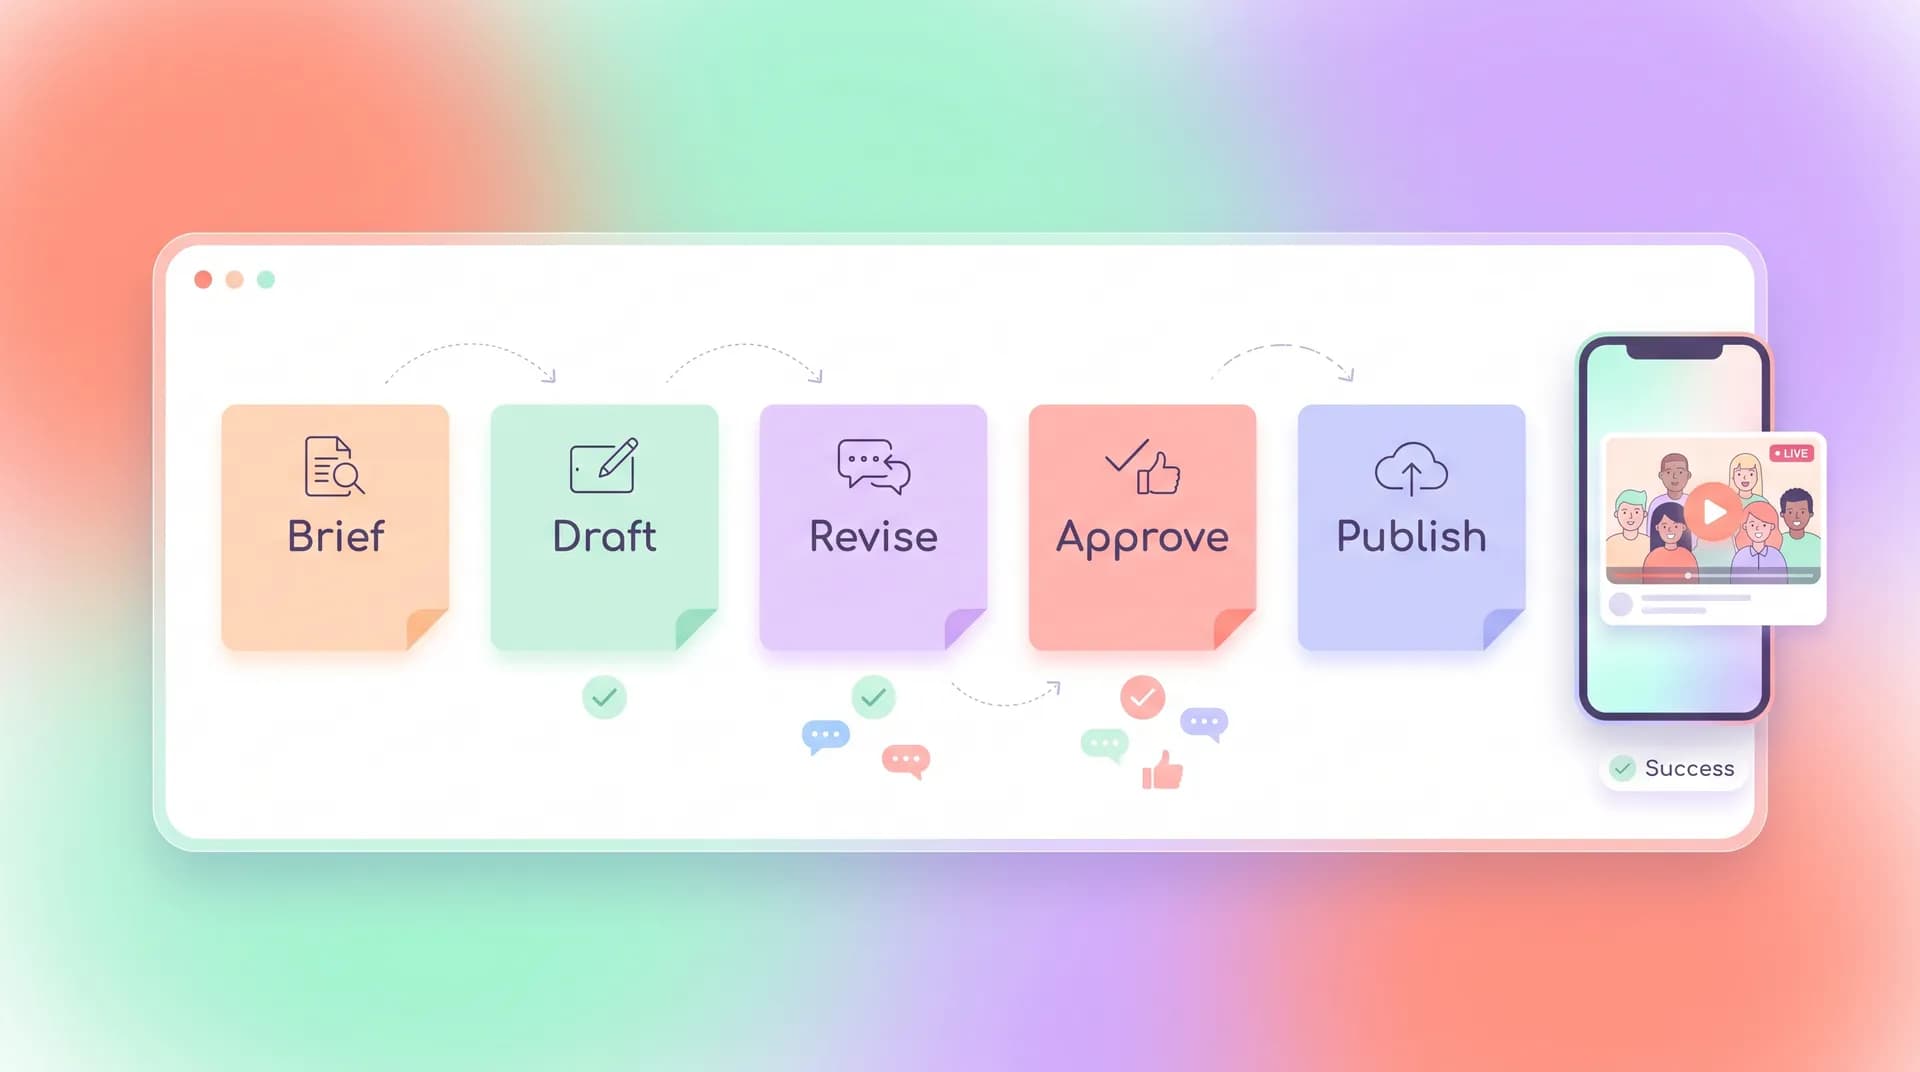
How to Manage a UGC Campaign From Brief to Published Ad
A step-by-step guide to running a UGC campaign: creator selection, briefing, revisions, approval, and ad upload, plus how to measure results.

I've watched brands blow six-figure UGC budgets because nobody owned the process between "creator says yes" and "ad goes live." Content sat in someone's downloads folder for three weeks. Revision notes got lost in a group chat with forty unread messages. By the time a video finally hit Meta Ads Manager, the trend it was riding had already died.
Running a UGC campaign isn't hard. Running one without a system is where things fall apart.
I've managed hundreds of these cycles at Flare, and the brands that consistently get winning ads out of their content aren't the ones with the biggest budgets. They're the ones who treat a UGC campaign like an operational pipeline, not a series of one-off favors. This is the exact walkthrough I'd hand a new brand manager on day one.
What a UGC Campaign Actually Involves, Start to Finish
A UGC campaign has six stages: creator selection, brief send, first draft, revisions, final approval, and publishing. Most teams treat these as loose, overlapping conversations. That's the mistake.
Each stage needs an owner, a deadline, and a clear "done" definition. Without that, you get scope creep — a creator delivers a video, you ask for "just one more version," and suddenly you're on round five with no contract language to fall back on.
If you're new to this space entirely, our UGC marketing guide for brands covers the strategic foundation — budget allocation, content types, where UGC fits versus influencer spend. This post picks up where that leaves off: the actual week-to-week mechanics of running one campaign cycle.
Here's the thing nobody tells you upfront: the operational overhead scales with the number of creators, not the size of the deliverable. Managing five creators making one video each is more work than managing one creator making five videos. Plan your timeline accordingly.
Setting a Realistic Timeline
For a single-creator, single-deliverable campaign, budget 10-14 days from brief to publish-ready asset:
- Days 1-2: creator selection and outreach
- Day 3: brief sent, creator confirms scope
- Days 4-7: filming and first draft delivery
- Days 8-10: revision round(s)
- Day 11: final approval
- Days 12-14: buffer for ad account upload, whitelisting setup, and QA
Double that timeline if you're running five or more creators at once, because revision bottlenecks compound. If you're building a recurring content engine rather than a one-off push, our post on building a repeatable UGC creator pipeline walks through how to stagger cohorts so you're never waiting on everyone at the same stage simultaneously.
Step 1: Creator Selection That Actually Fits the Brief
Most creator selection happens backwards. Teams pick creators based on follower count or aesthetic vibes, write the brief second, and then wonder why the footage doesn't match what they needed for the ad.
Flip it. Know your ad format before you pick anyone.
If you're testing a hook-driven TikTok ad, you need a creator who's fast, expressive, comfortable improvising on camera. If you're shooting a slower testimonial for a landing page, you want someone who can deliver a calm, credible read without sounding scripted. These are different skill sets, and pretending they're interchangeable is how you end up with a stiff testimonial creator forcing energy she doesn't have.
Vet for reliability as hard as you vet for talent. A gorgeous portfolio means nothing if the creator misses two deadlines. Ask about past turnaround times. Check if they've worked with brands in your category before — regulatory or compliance-heavy niches (supplements, finance, skincare) need creators who already understand the guardrails.
We've got a full checklist for this in our post on vetting UGC creators for brand safety — worth running through before you send a single dollar.
Keep a rolling shortlist of 15-20 vetted creators per content category. When a campaign kicks off, you're picking from people you already trust instead of starting a cold search every time.
Where to Actually Find Them
Marketplaces work if you need volume fast, but the best long-term creators usually come from direct outreach or repeat collaborations. If you're comparing options, our breakdown of UGC creator platforms and marketplaces covers the tradeoffs — cost, vetting depth, how much hand-holding you'll need to do yourself.
Step 2: Writing a Brief That Prevents Revision Rounds
Every unnecessary revision round traces back to a vague brief. I mean that literally — go back through your last messy campaign and you'll find the ambiguity sitting right there in the original brief document.
A brief that actually works includes:
The hook direction. Don't just say "make it engaging." Give three example hook lines or reference videos that nailed the tone you want.
Non-negotiables vs. creative freedom. Be explicit about what must appear (product shot, specific claim, CTA wording) versus what the creator can improvise (their own phrasing, transitions, personal anecdotes).
Platform-specific specs. A vertical 9:16 video shot for TikTok often needs different pacing and text placement than one destined for Meta. If you're running the same concept across platforms, read our piece on why TikTok and Meta need different content briefs before you write a single "one brief fits all" doc.
Revision limits, stated upfront. Two rounds included, anything beyond that billed separately. Put this in the contract, not just the brief, so nobody's surprised later.

Step 3: Managing Revisions Without Losing the Thread
This is where most campaigns actually die — not in filming, in the back-and-forth after.
The biggest failure mode I see is feedback delivered as vague vibes: "can you make it feel more natural" or "something's off about the pacing." That's not actionable. A creator can't fix what she can't identify.
Give feedback with timestamps. "At 0:04, the hook line reads too scripted — try landing on the pain point first" is something a creator can execute in one pass. "Make it more natural" gets you round three, then round four.
Batch your feedback too. Nothing kills a timeline faster than sending one comment, waiting for the fix, then sending another comment on the same cut. Review the whole draft, compile every note, send it once.
If you're on your third revision round and the direction still feels off, the problem usually isn't the creator's execution — it's the original brief. Stop editing the video and go back and fix the brief instead.
Track every asset's status somewhere visible to the whole team — a shared board, a spreadsheet, whatever. "Waiting on creator," "in review," "approved," "uploaded to ad account." I've seen campaigns stall for a week simply because nobody could answer "wait, whose turn is it to respond?"
Step 4: Approval and Rights Sign-Off
Approval isn't just "does this look good." It's a checklist moment, and skipping it is how brands end up with legal headaches months later.
Before you mark anything approved, confirm:
- The usage rights match what's in the contract (organic only, or paid whitelisting too?)
- Any required disclosures (#ad, #sponsored) are present per FTC guidelines — the FTC's endorsement guides spell out exactly what's required here
- Product claims are accurate and defensible, especially in regulated categories
- The creator's face, voice, or likeness usage window is documented (30 days? 6 months? perpetuity?)
If usage rights and content ownership feel murky to you, our post on content rights brands need to know before reposting is worth a read before you approve anything for paid spend. Getting this wrong doesn't just risk a bad ad — it risks a legal dispute with a creator who never agreed to have their face run in a $50k paid campaign.
Step 5: Getting the Asset Into the Ad Account
Approved footage sitting in a Google Drive folder isn't a campaign — it's a missed opportunity. This step gets rushed constantly because everyone treats "approved" as the finish line.
For Meta, that means uploading into Ads Manager, setting up creator whitelisting or Partnership Ads if you're running the content from the creator's own handle for social proof. For TikTok, it's usually Spark Ads, which requires the creator to generate an authorization code — our Spark Ads setup guide walks through that handshake step by step, and it trips up more teams than you'd expect.
Before launch, run a quick creative QA pass: correct aspect ratio, captions burned in or embedded correctly, sound levels consistent, no placeholder text left in from editing. I've personally shipped an ad with a lorem-ipsum caption still in the frame. Once.
If you're running content as dark posts rather than organic content, double-check the whitelisting permissions are active before you spend a dollar — nothing wastes budget faster than an ad getting pulled mid-flight over a permissions issue.
Step 6: The Post-Campaign Performance Review
Publishing isn't the end of the cycle. It's the point where you start collecting the data that makes your next campaign better.
Pull performance by creator, not just by ad. You'll often find one creator's content consistently outperforms across multiple concepts — that's a signal to bring them back for a retainer arrangement rather than treating every campaign as a fresh creator search.
Look at:
- Hook rate (3-second view rate) — tells you if the opening actually stops the scroll
- Thumb-stop ratio against your other running creative
- Cost per result compared to your polished, non-UGC ads
- Creative fatigue timeline — how many days before performance started declining
If you're not sure which metrics actually matter or how to build a reporting cadence around them, we've laid out the full framework in our UGC marketing ROI and metrics guide. Don't skip this step just because the campaign "felt" successful — feelings don't scale a media budget.
Save every winning brief alongside its performance data. Over a few campaigns, this becomes your internal playbook for what actually converts with your audience — way more valuable than any generic "best practices" list.
Building This Into a Repeatable System
Run this cycle once and you'll learn where your bottlenecks are. Run it five times and you'll have a system that doesn't depend on any one person's memory of "who owes what to whom."
The brands that treat UGC as a continuous pipeline — not a one-off project — are the ones scaling creative output without scaling headcount. That means standardized briefs, a shortlist of trusted creators, clear revision policies, and a dashboard that shows every asset's status at a glance. That's exactly the kind of infrastructure we built Flare around, because managing this across spreadsheets and Slack threads just doesn't hold up past your third campaign.
FAQ
Frequently Asked Questions
How long does a typical UGC campaign take from brief to published ad?
How many revision rounds should I include in a UGC campaign?
What's the biggest mistake brands make managing UGC campaigns?
Do I need separate briefs for TikTok and Meta UGC campaigns?
How do I know if a UGC campaign actually performed well?
Who should own UGC campaign management — the brand or an agency?
Related reading
- UGC marketing: the brand's complete guide (2025)
- Building a Repeatable UGC Creator Pipeline for Your Brand
- How to write a UGC campaign brief that works
- How to hire UGC creators: a brand marketer's checklist
- UGC marketing ROI: metrics and reporting guide
- UGC ad creative testing: how to find winners fast